Here I will introduce how to properly configure your TVpad to your home network in just 3 EASY STEPS.
Step 1:
Gather your Home Network Details
This is the most important step. Make sure you get this part right!
Go to your computer that is connected to your home network.
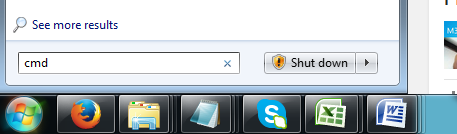
Click on “start” located at the bottom left of your windows screen and search for “cmd” (short for “command” or command prompt)

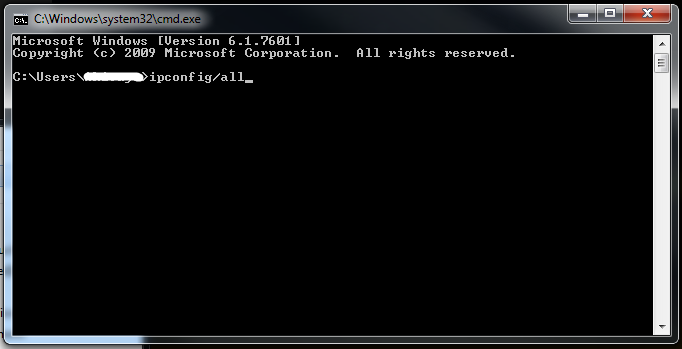
Once command prompt is opened, type in: “ipconfig/all”
Press ENTER. Command prompt will list all you network details
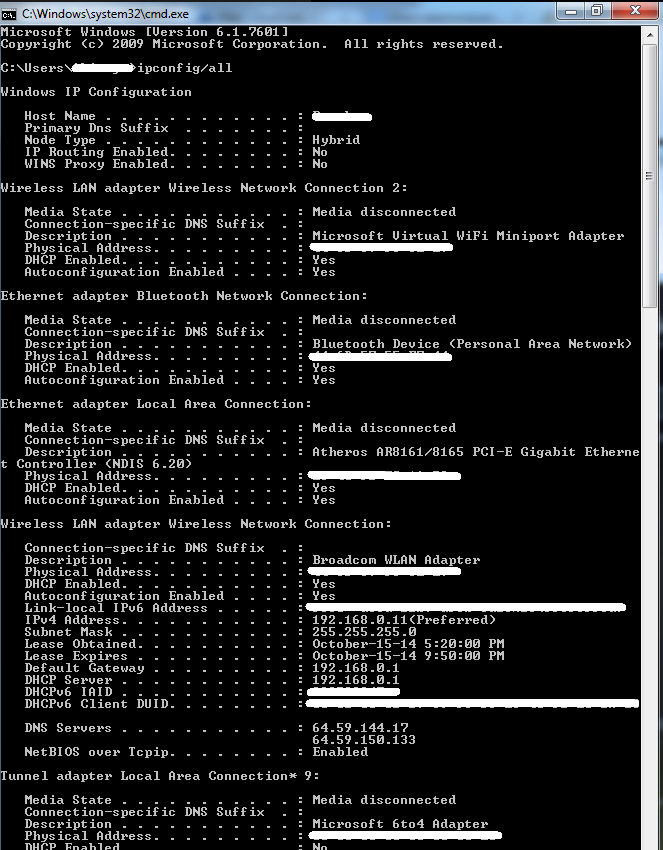
From your list, note down on a piece of paper the following.
1) Subnet Mask: (the example above is 255.255.255.0)
2) Default Gateway: (the example above is 192.168.0.1)
You will need these addresses to setup your TVpad connection!
You are now armed with all the information needed to start the installation!
Step 2:
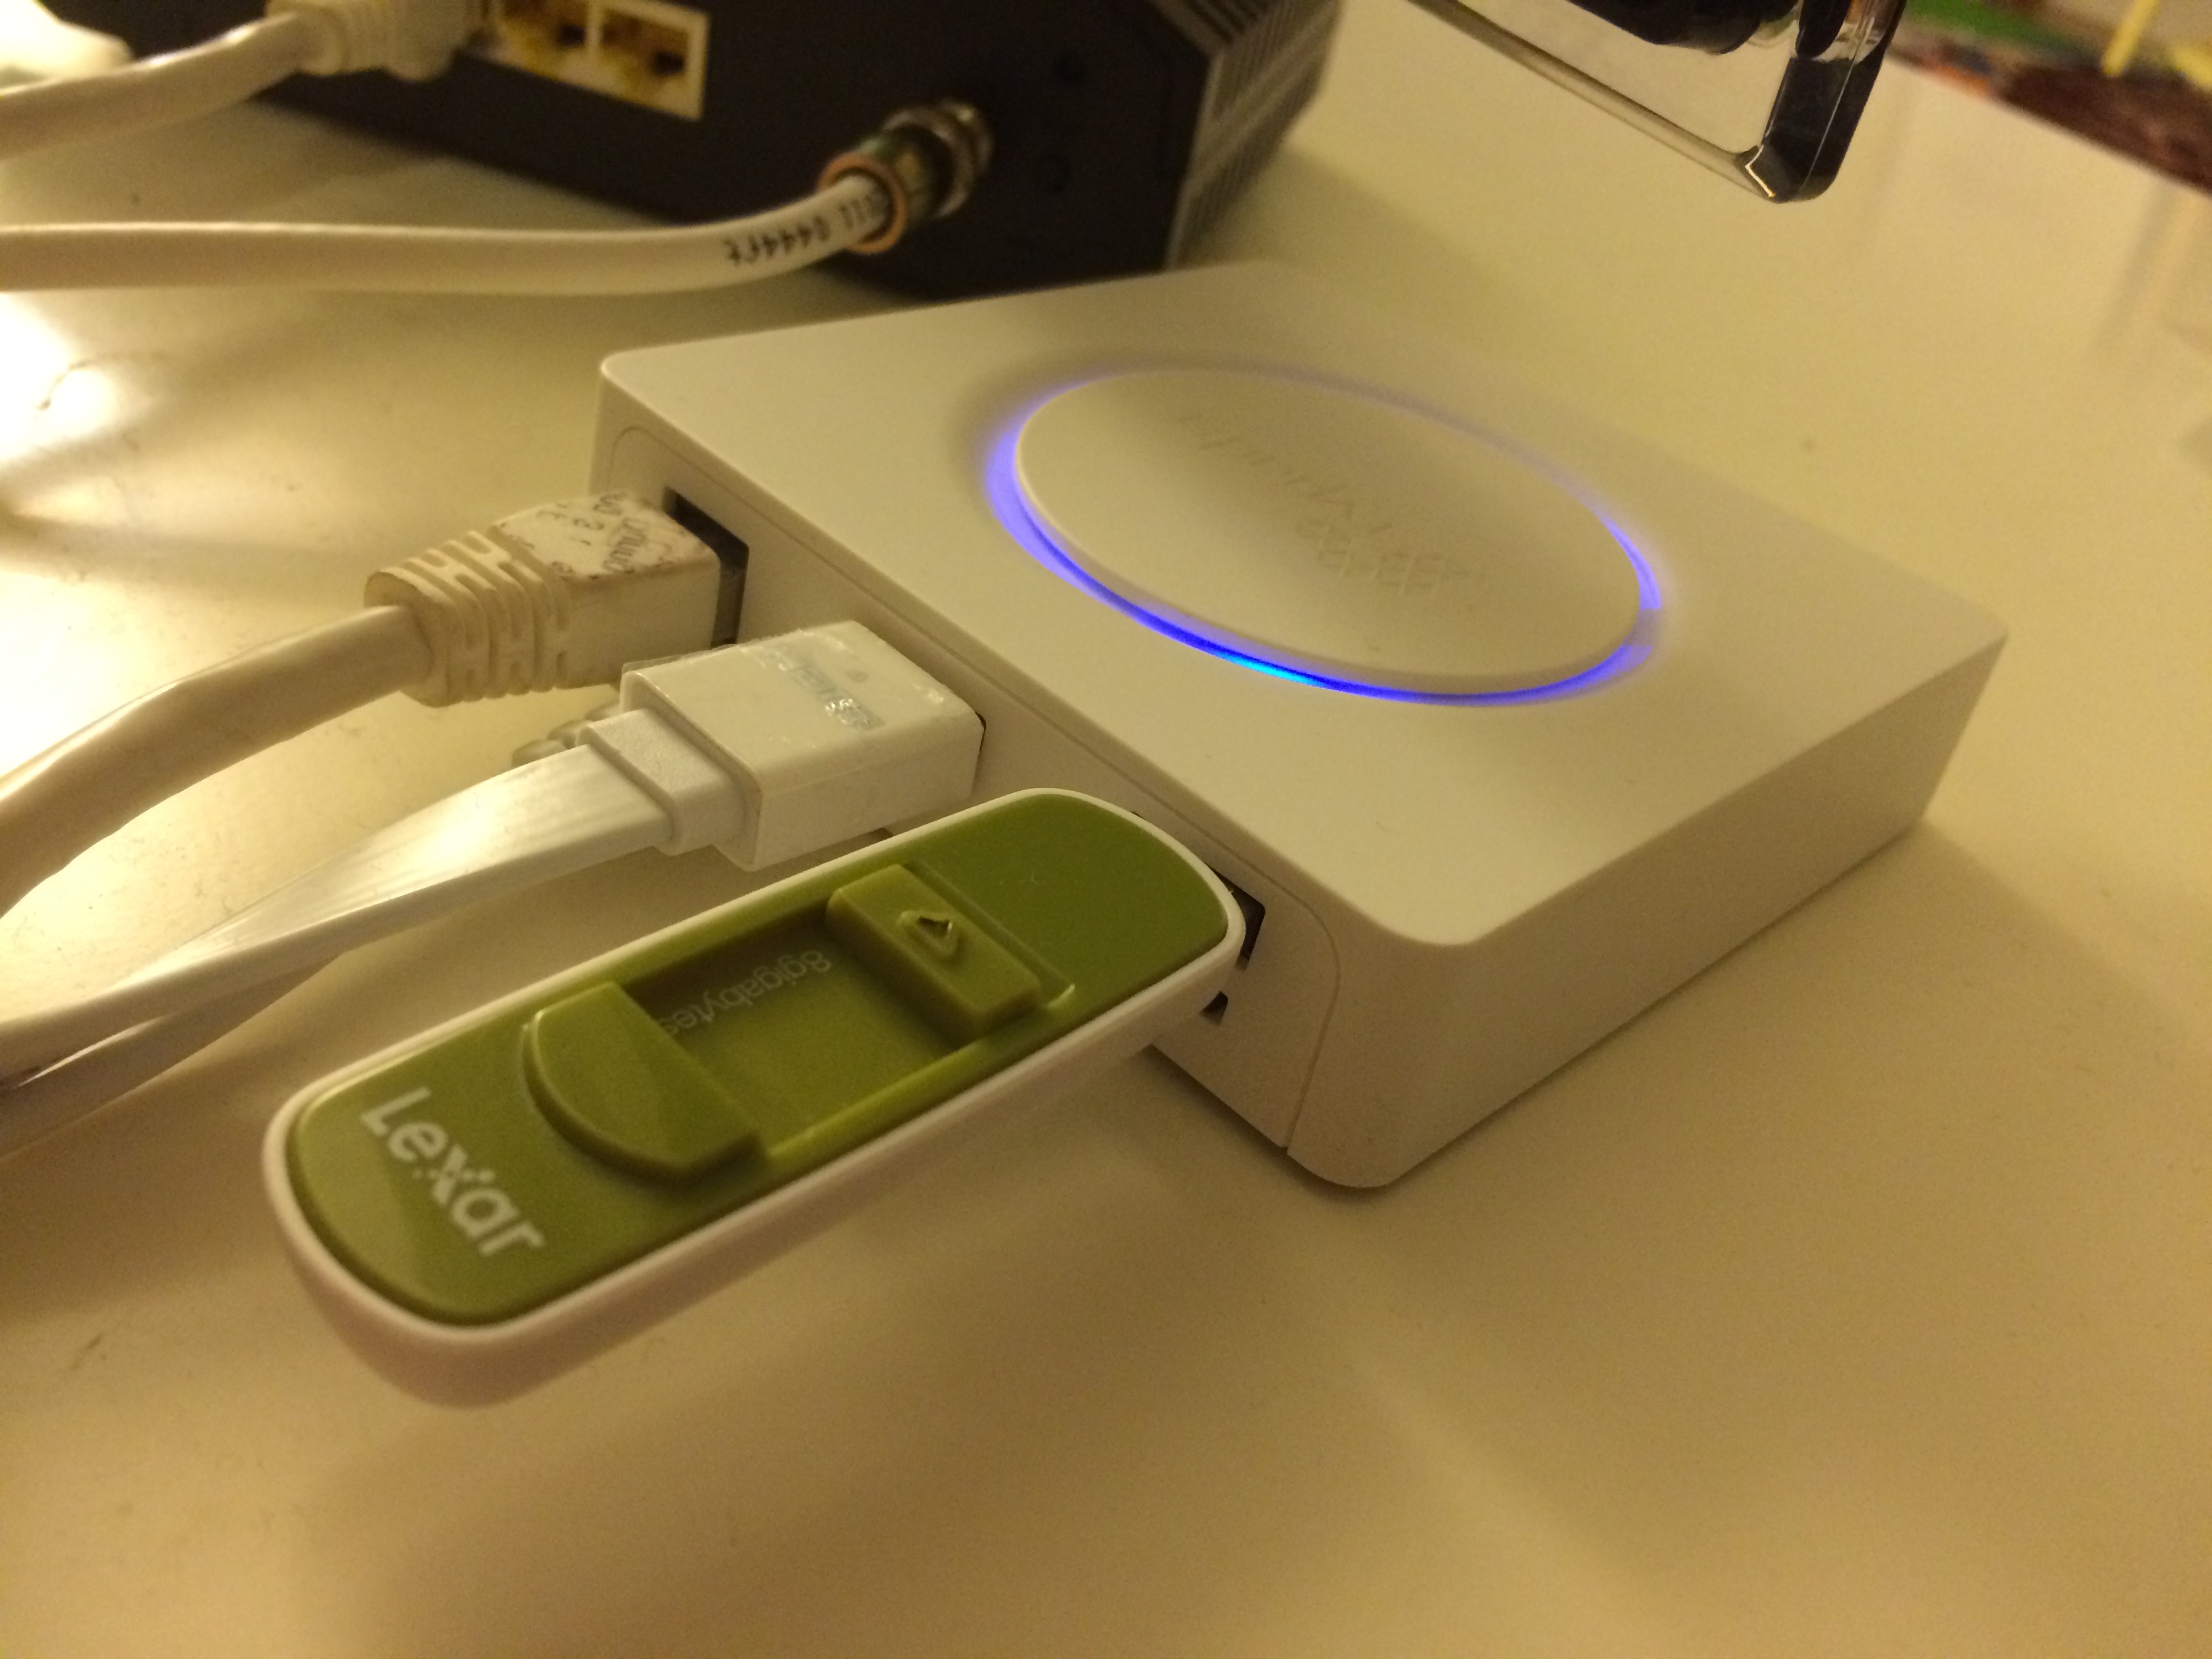
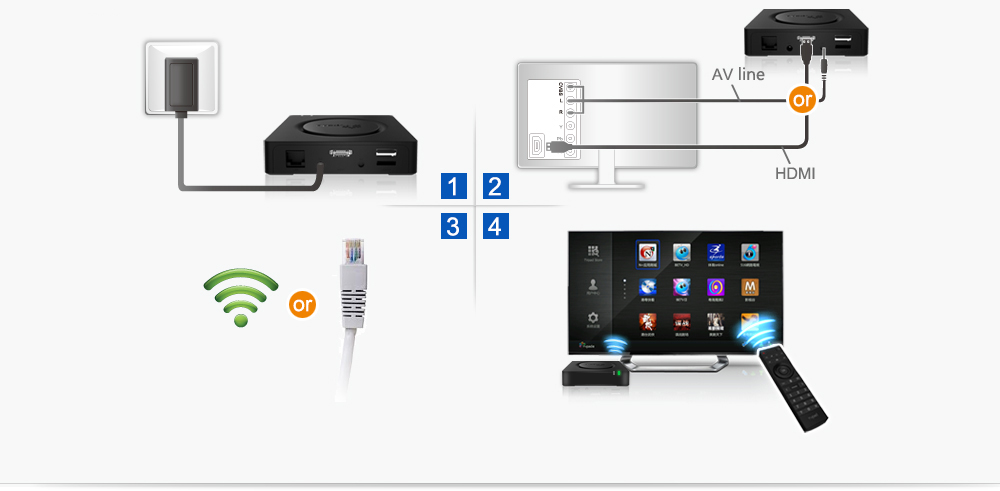
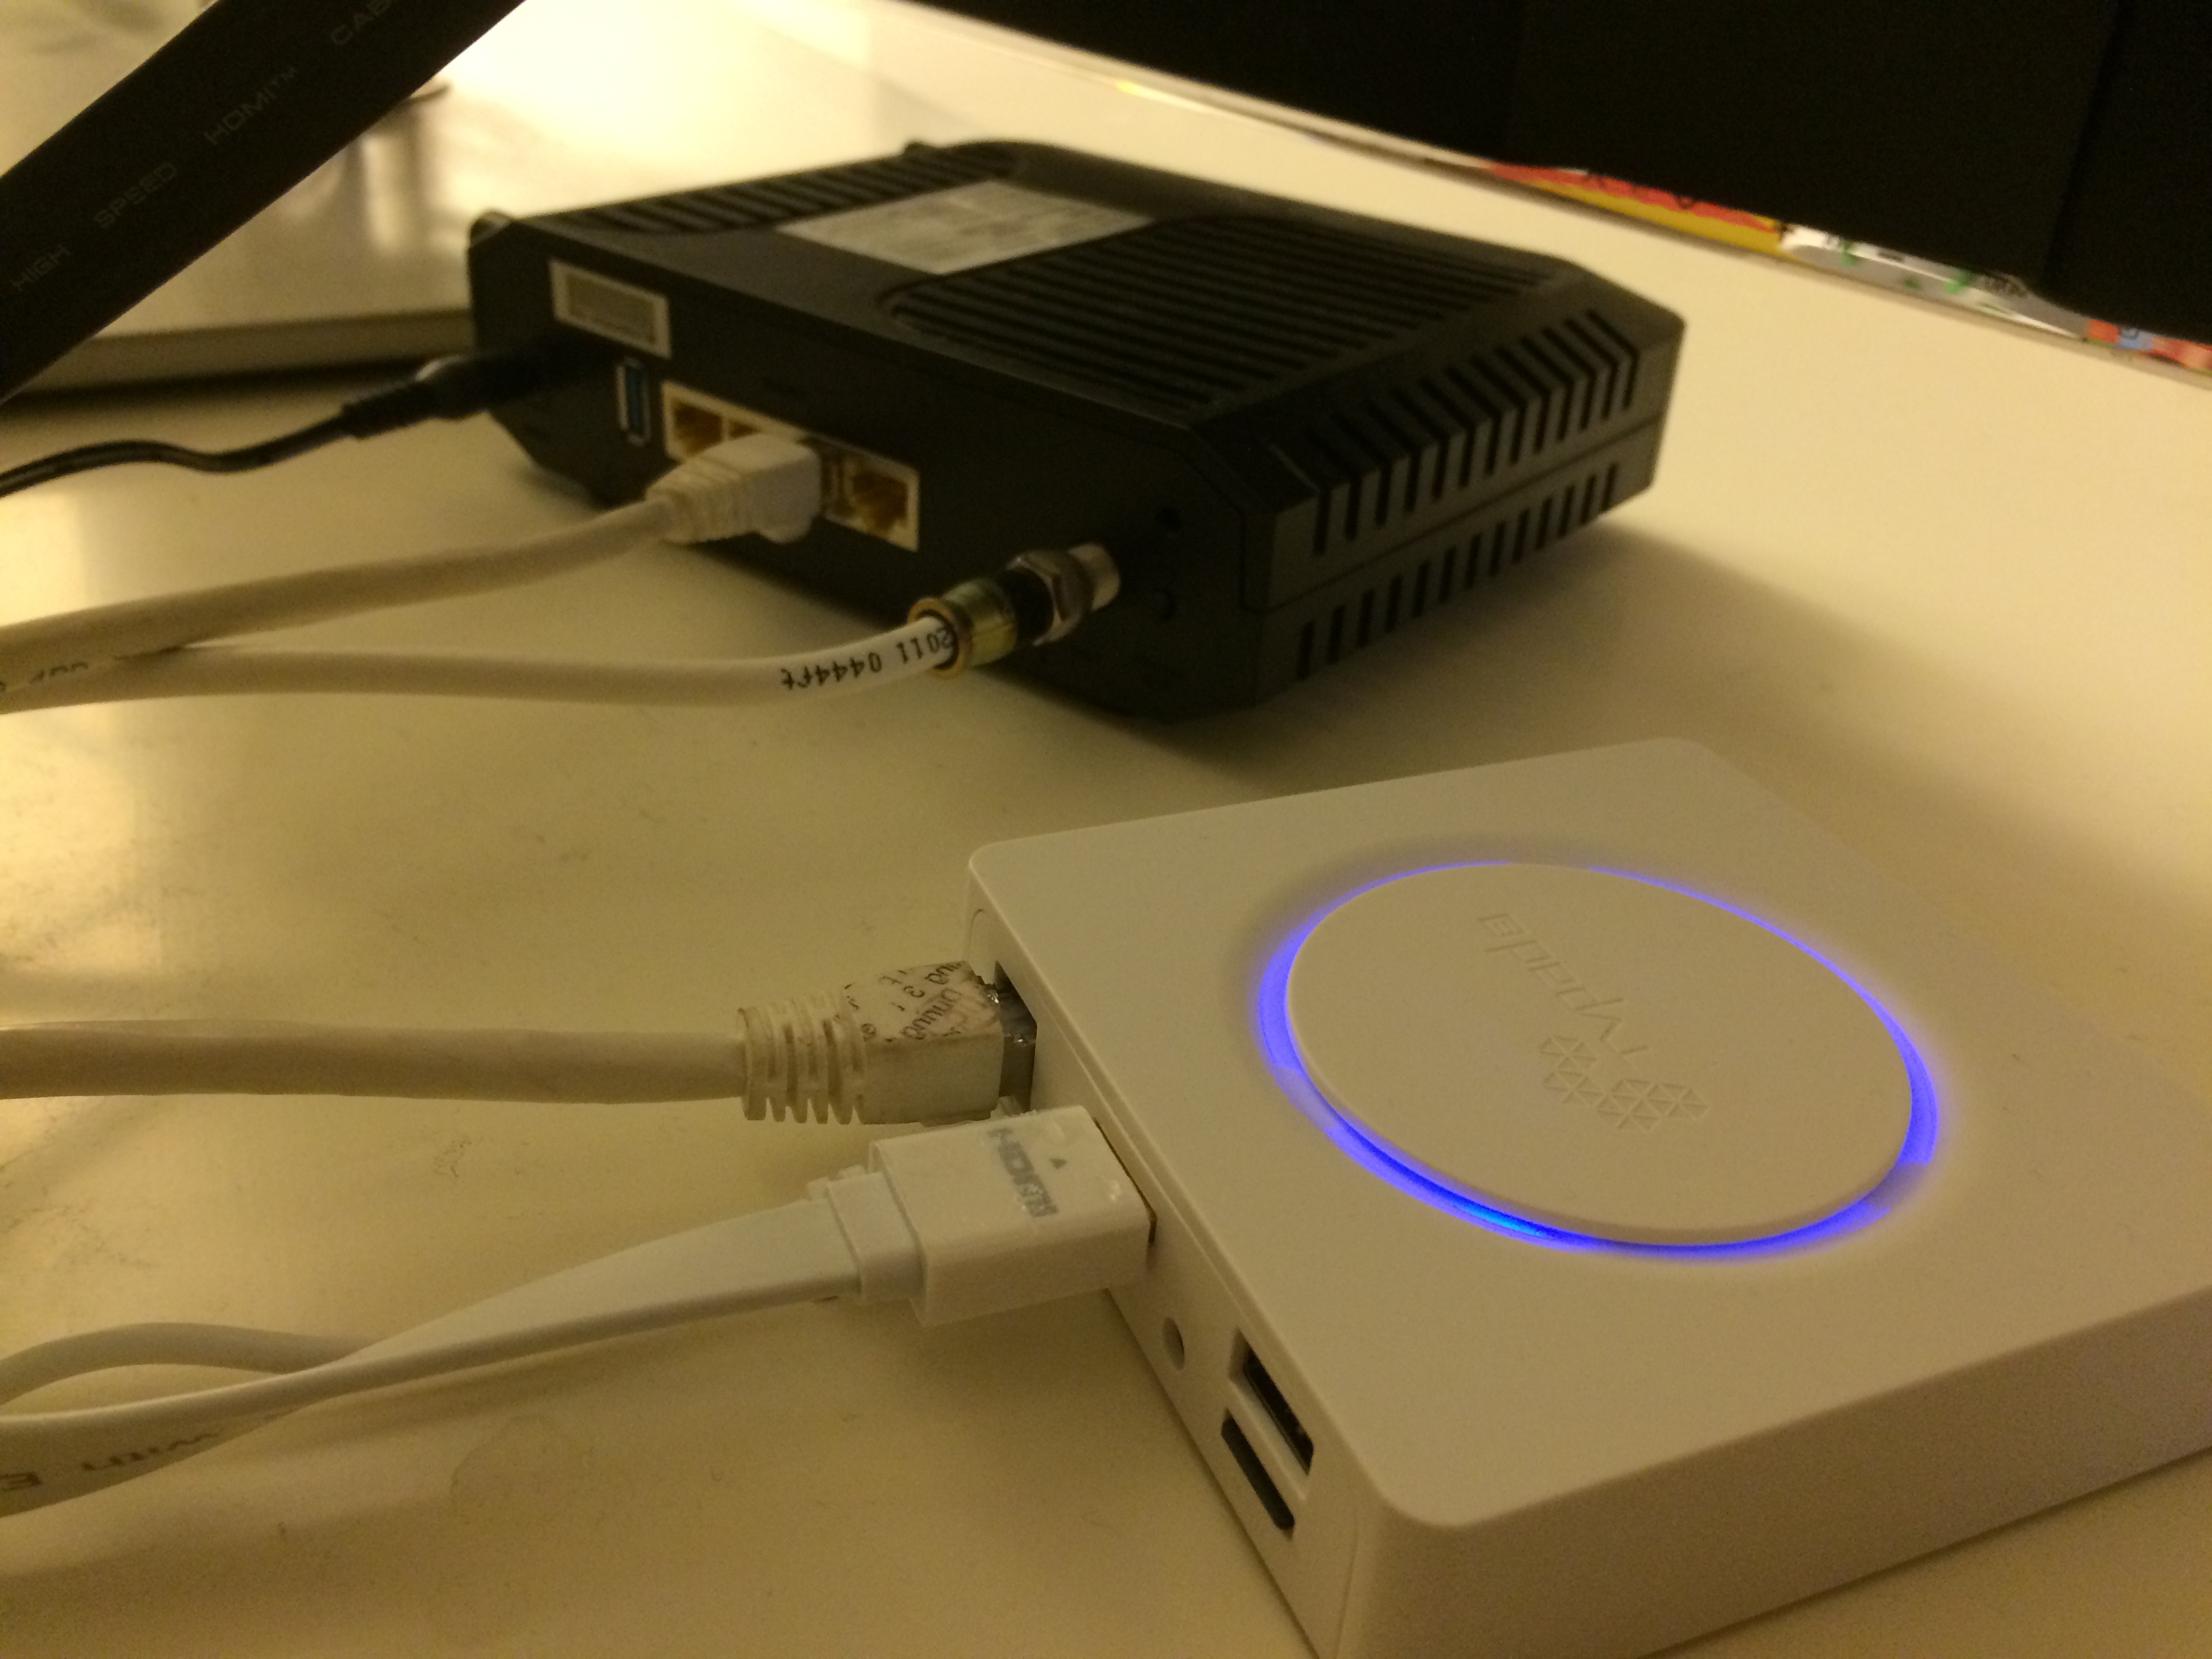
Connect your TVpad to your network Ethernet Switch or Router.
Connect your TVpad HDMI cable (or AV/RGB line) to your TV
Connect power to your TVpad
Note: Although TVpad is WIFI compatible, TVpad recommends using network cable for best performance.
Step 3:
Turn ON the TVpad and set language and time settings
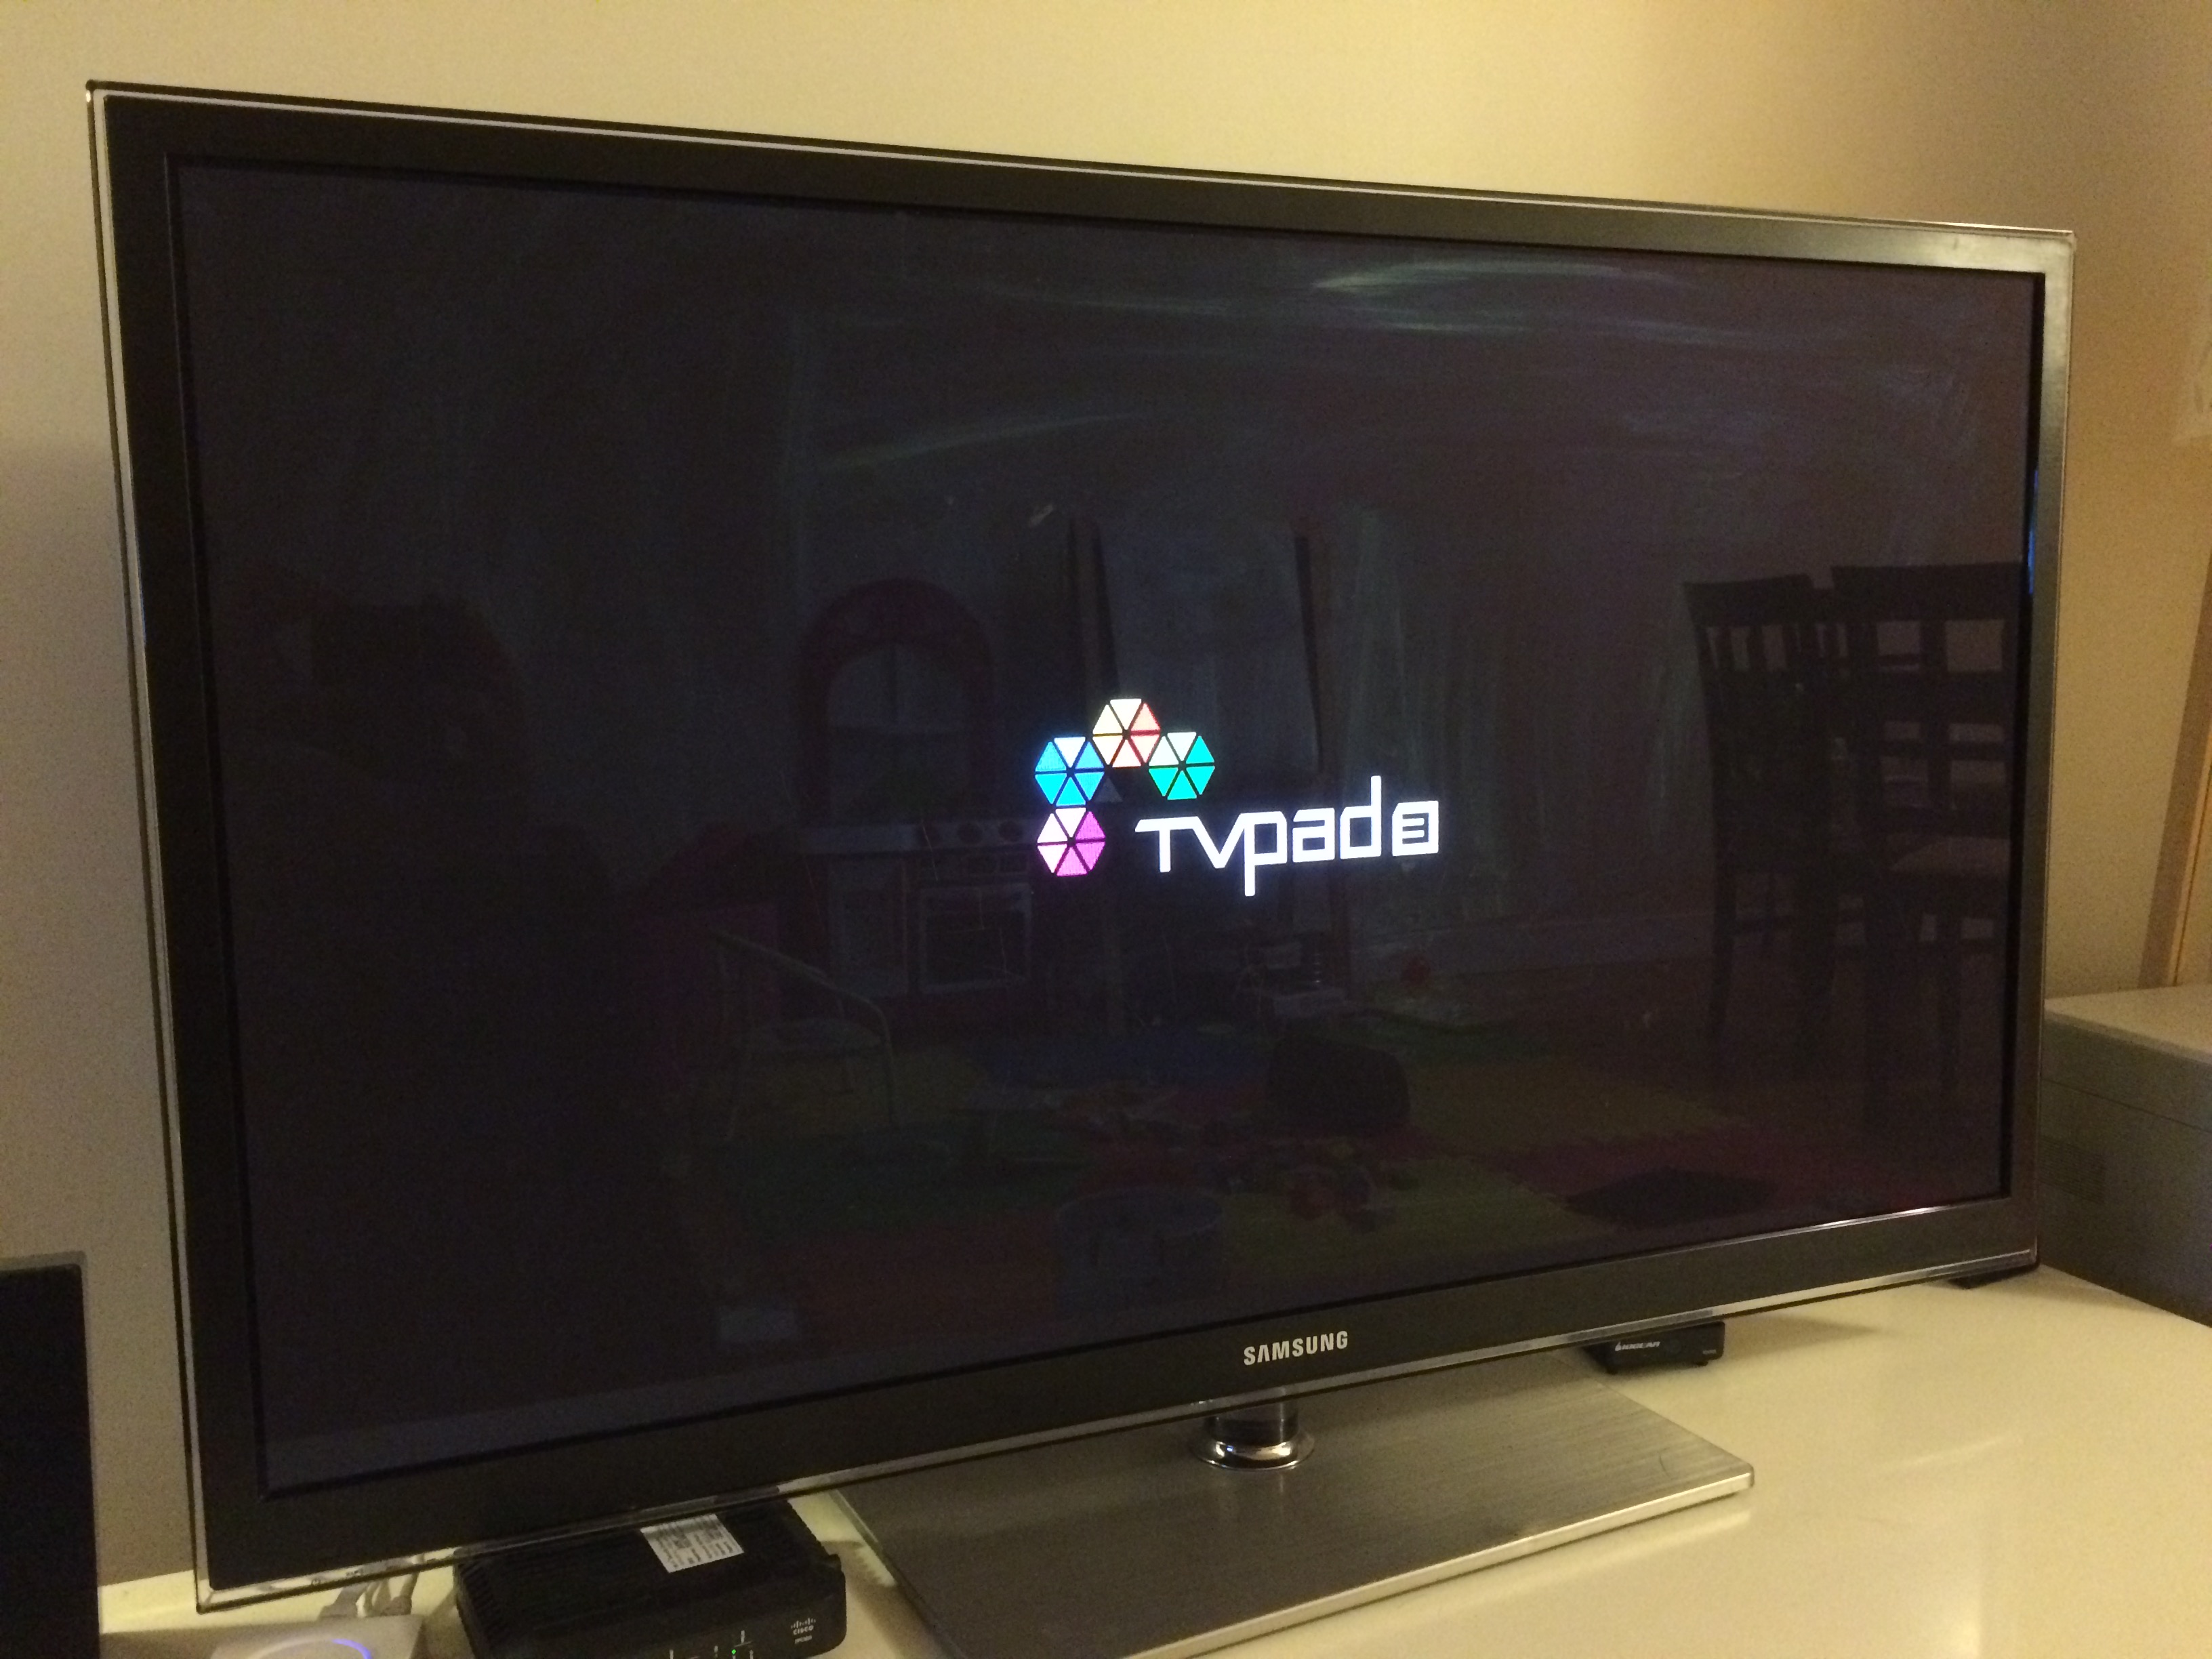
A blue LED will light up on the TVpad unit to indicate power is ON
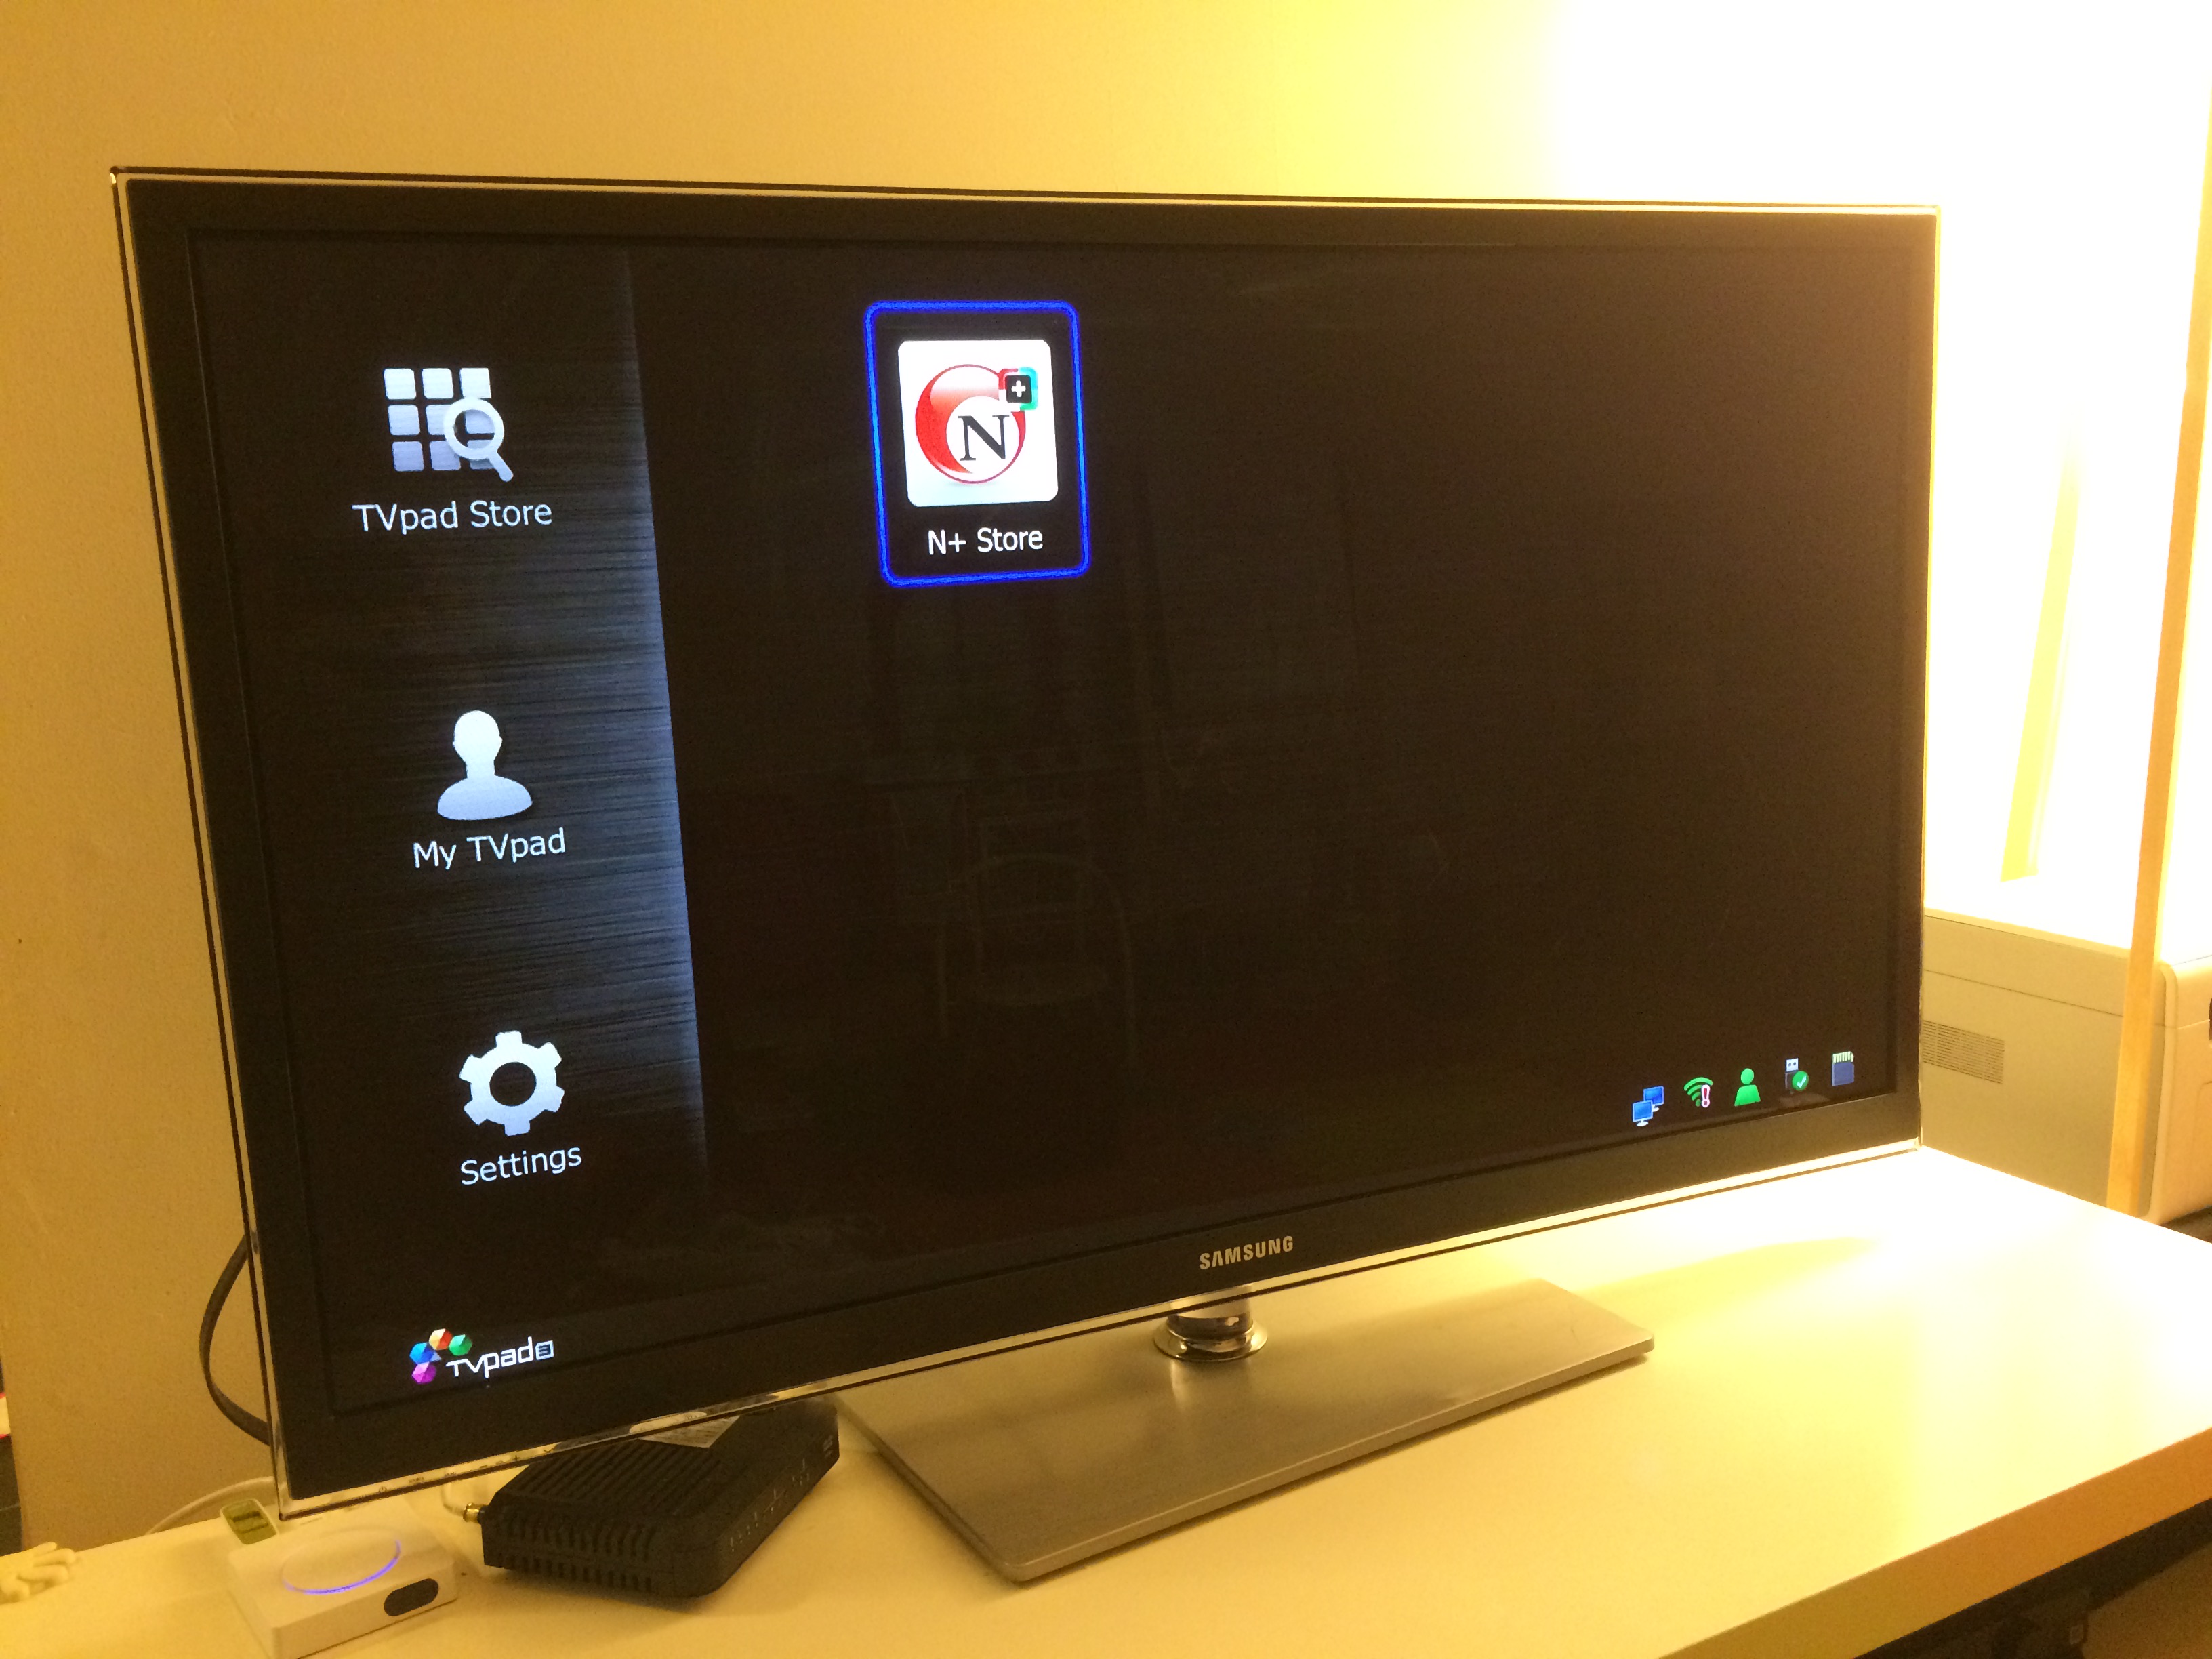
TVpad3 will appear on screen
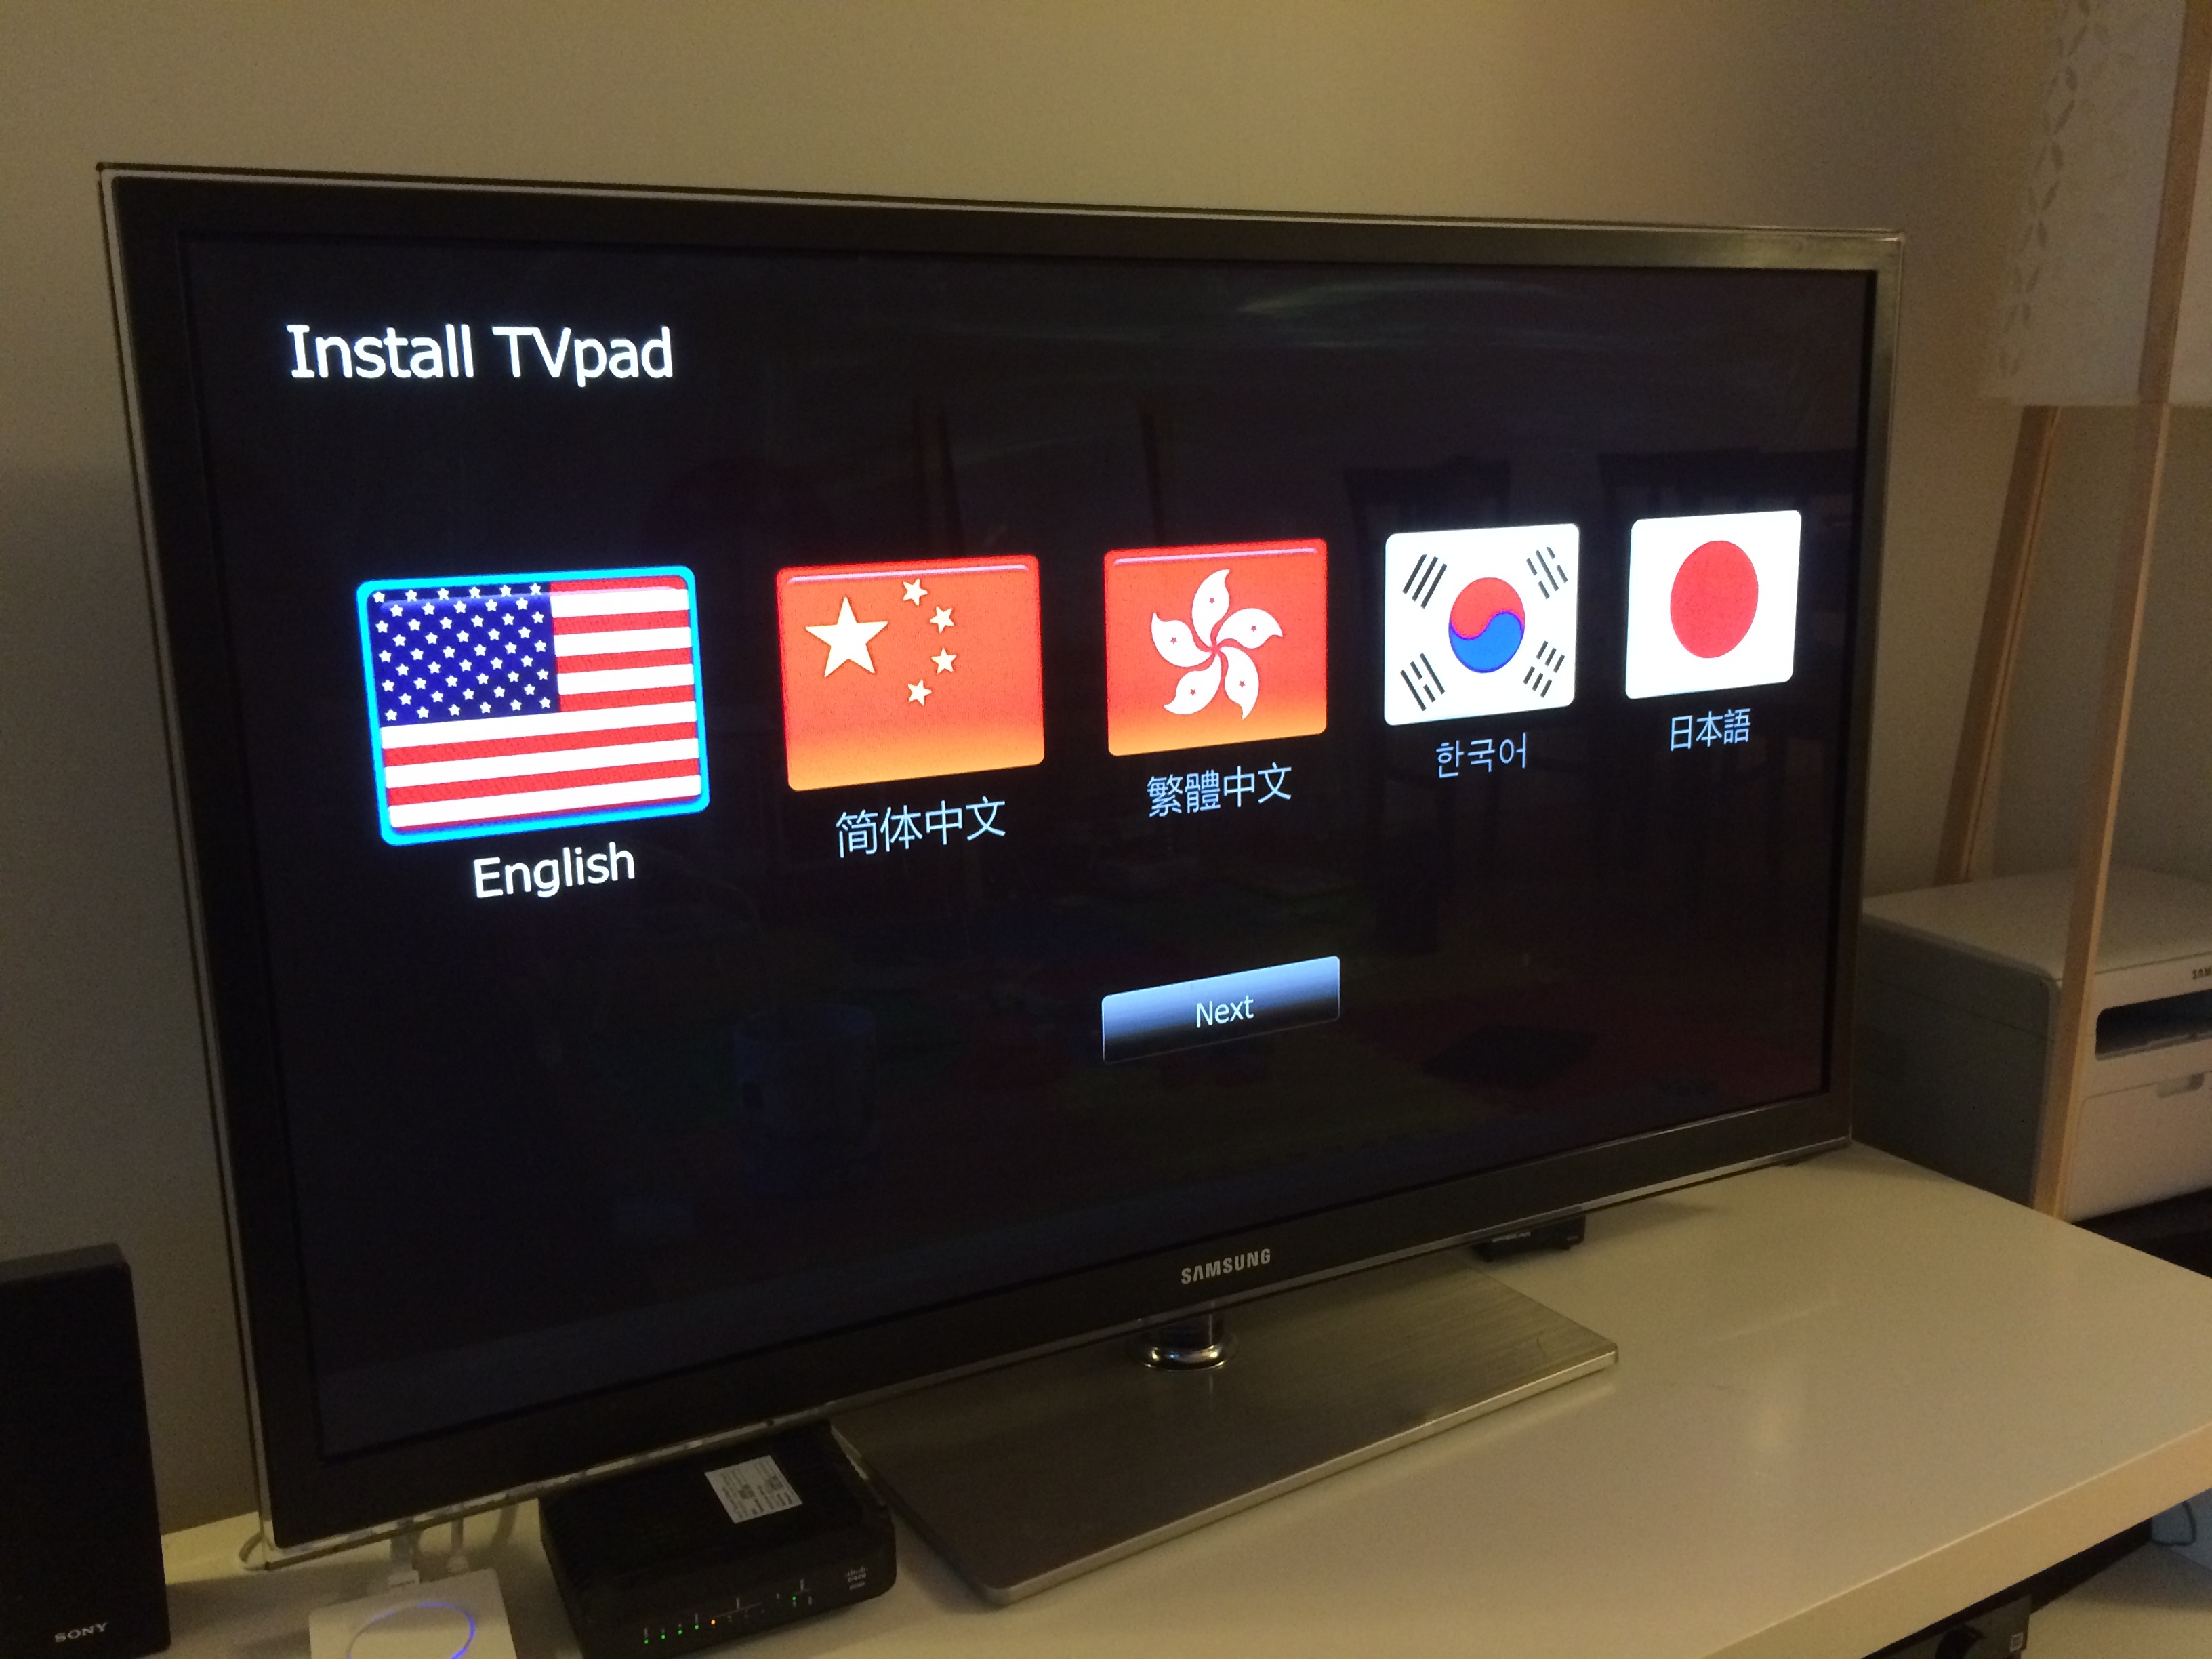
TVpad legal agreement will appear on screen. Click on “Accept”
Language screen will appear. Choose a language you are most comfortable with.
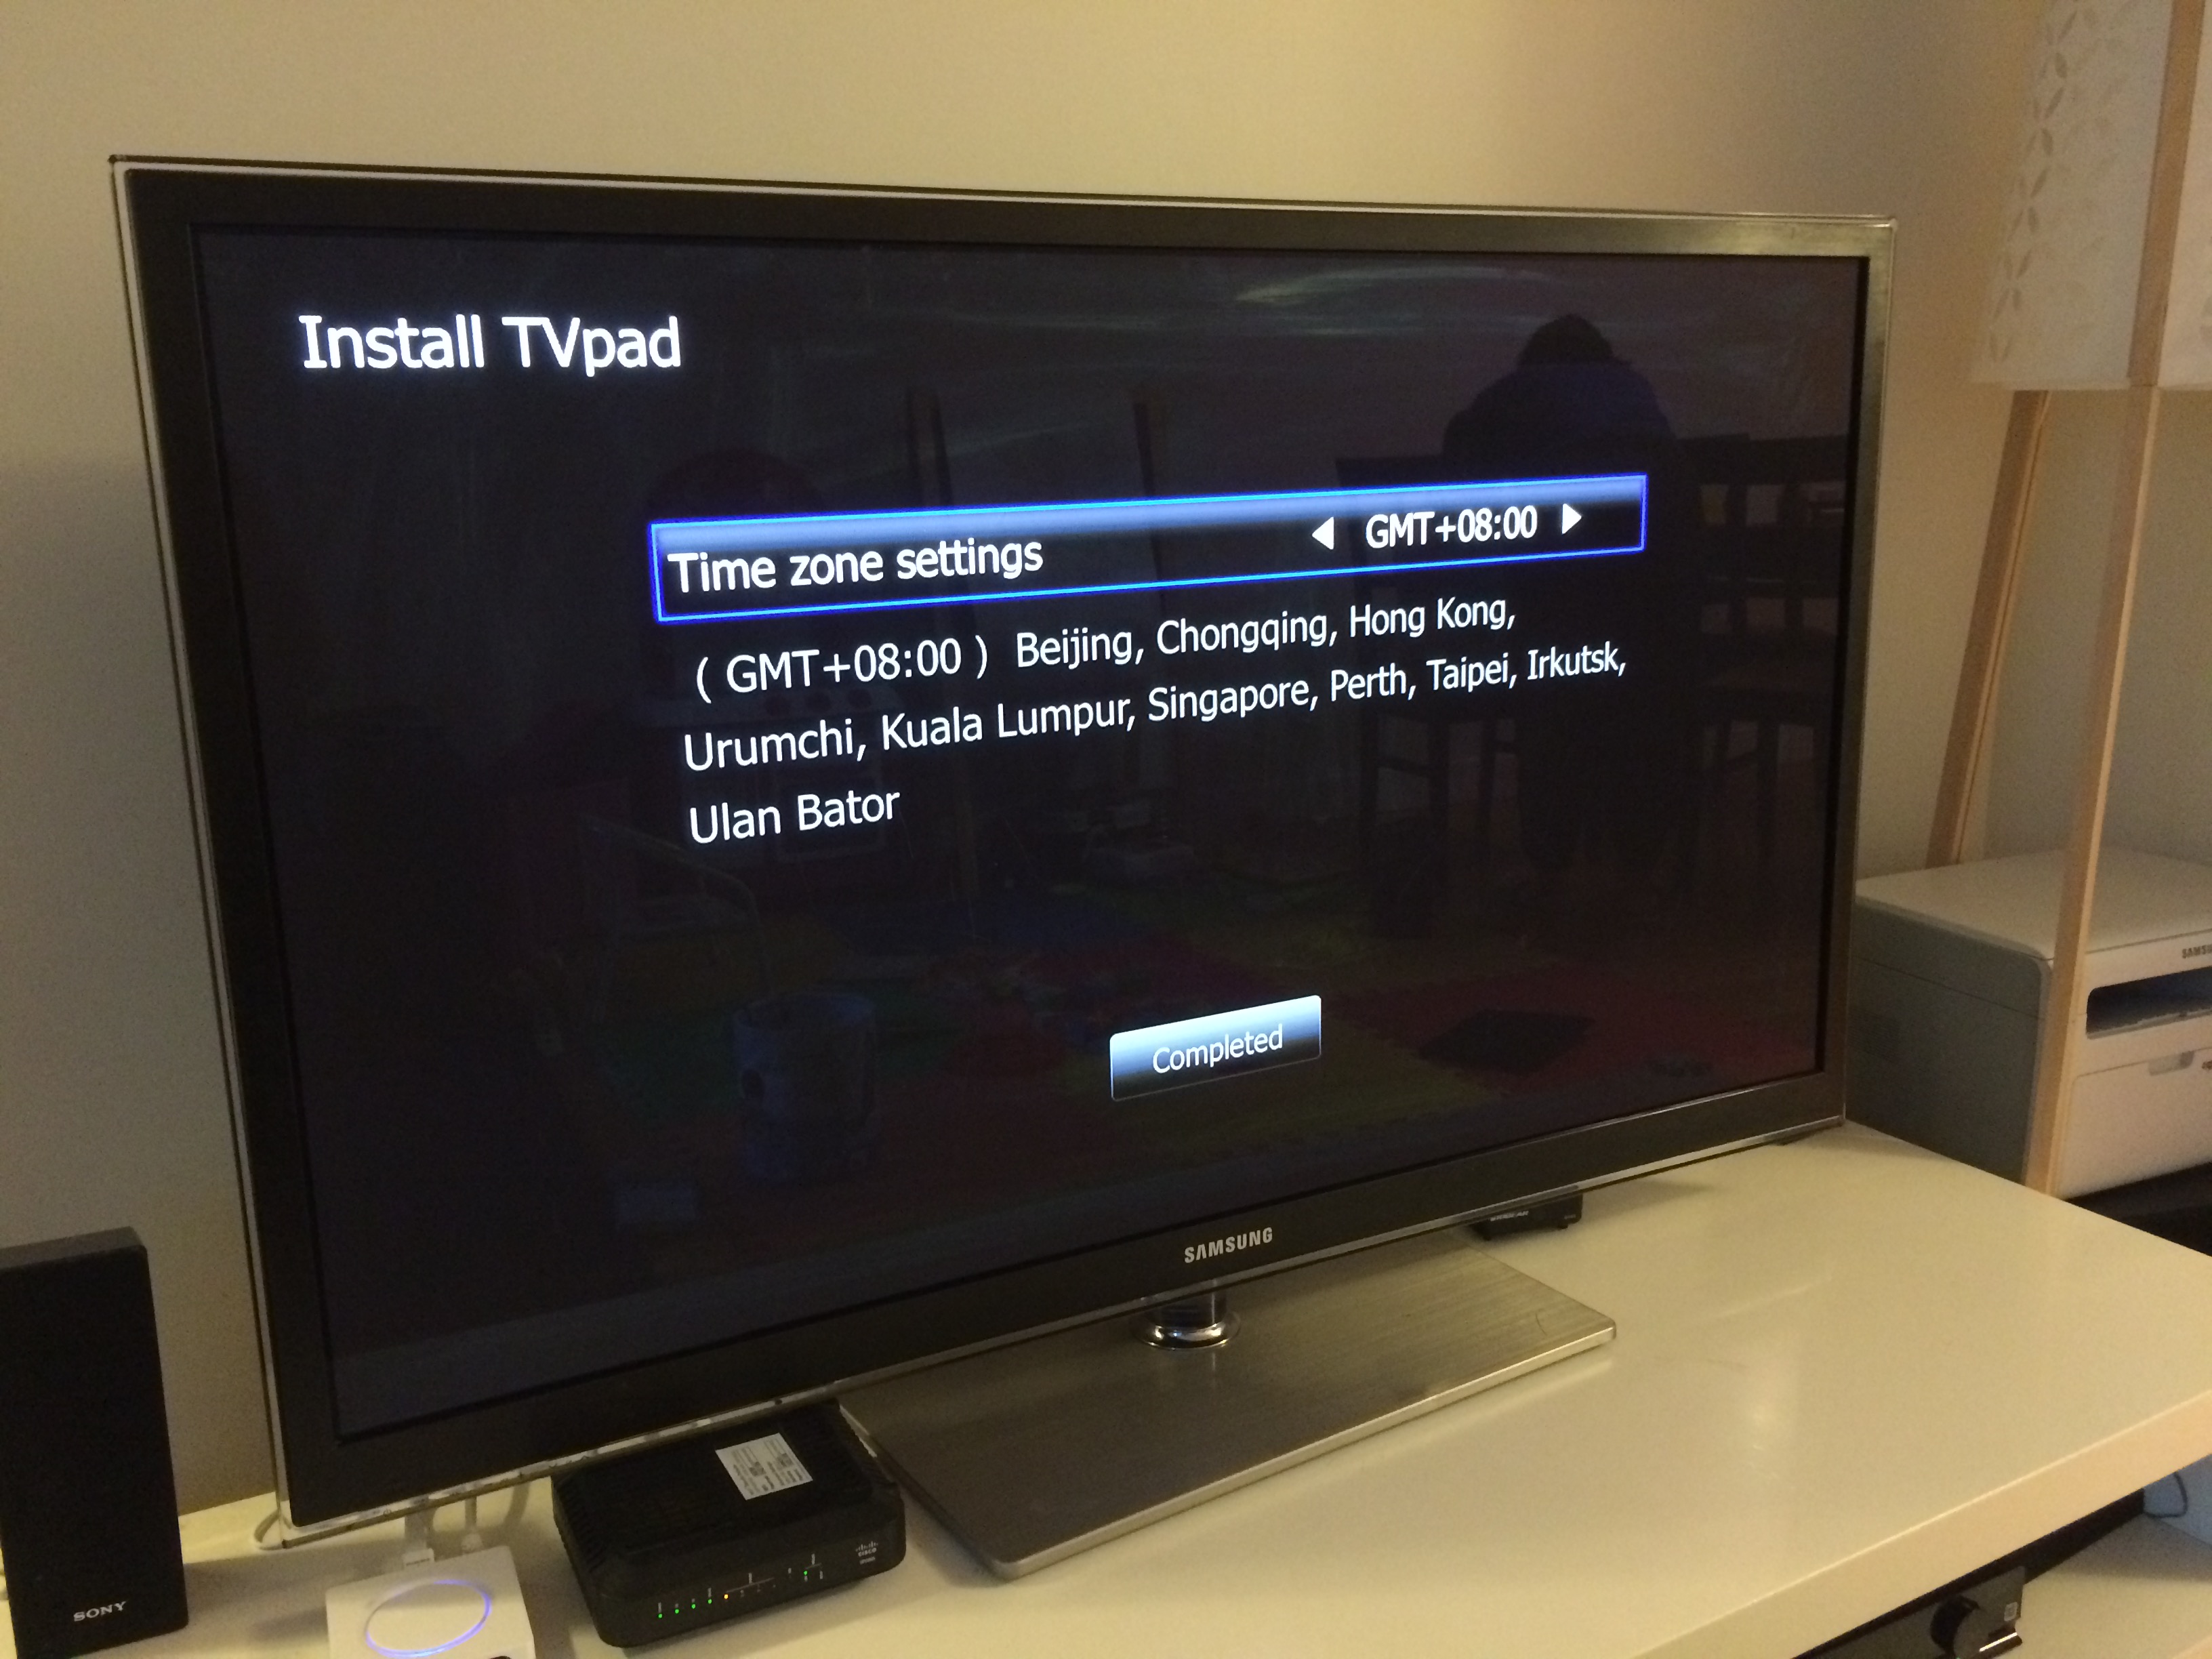
Time zone settings screen will appear. Choose your time zone.
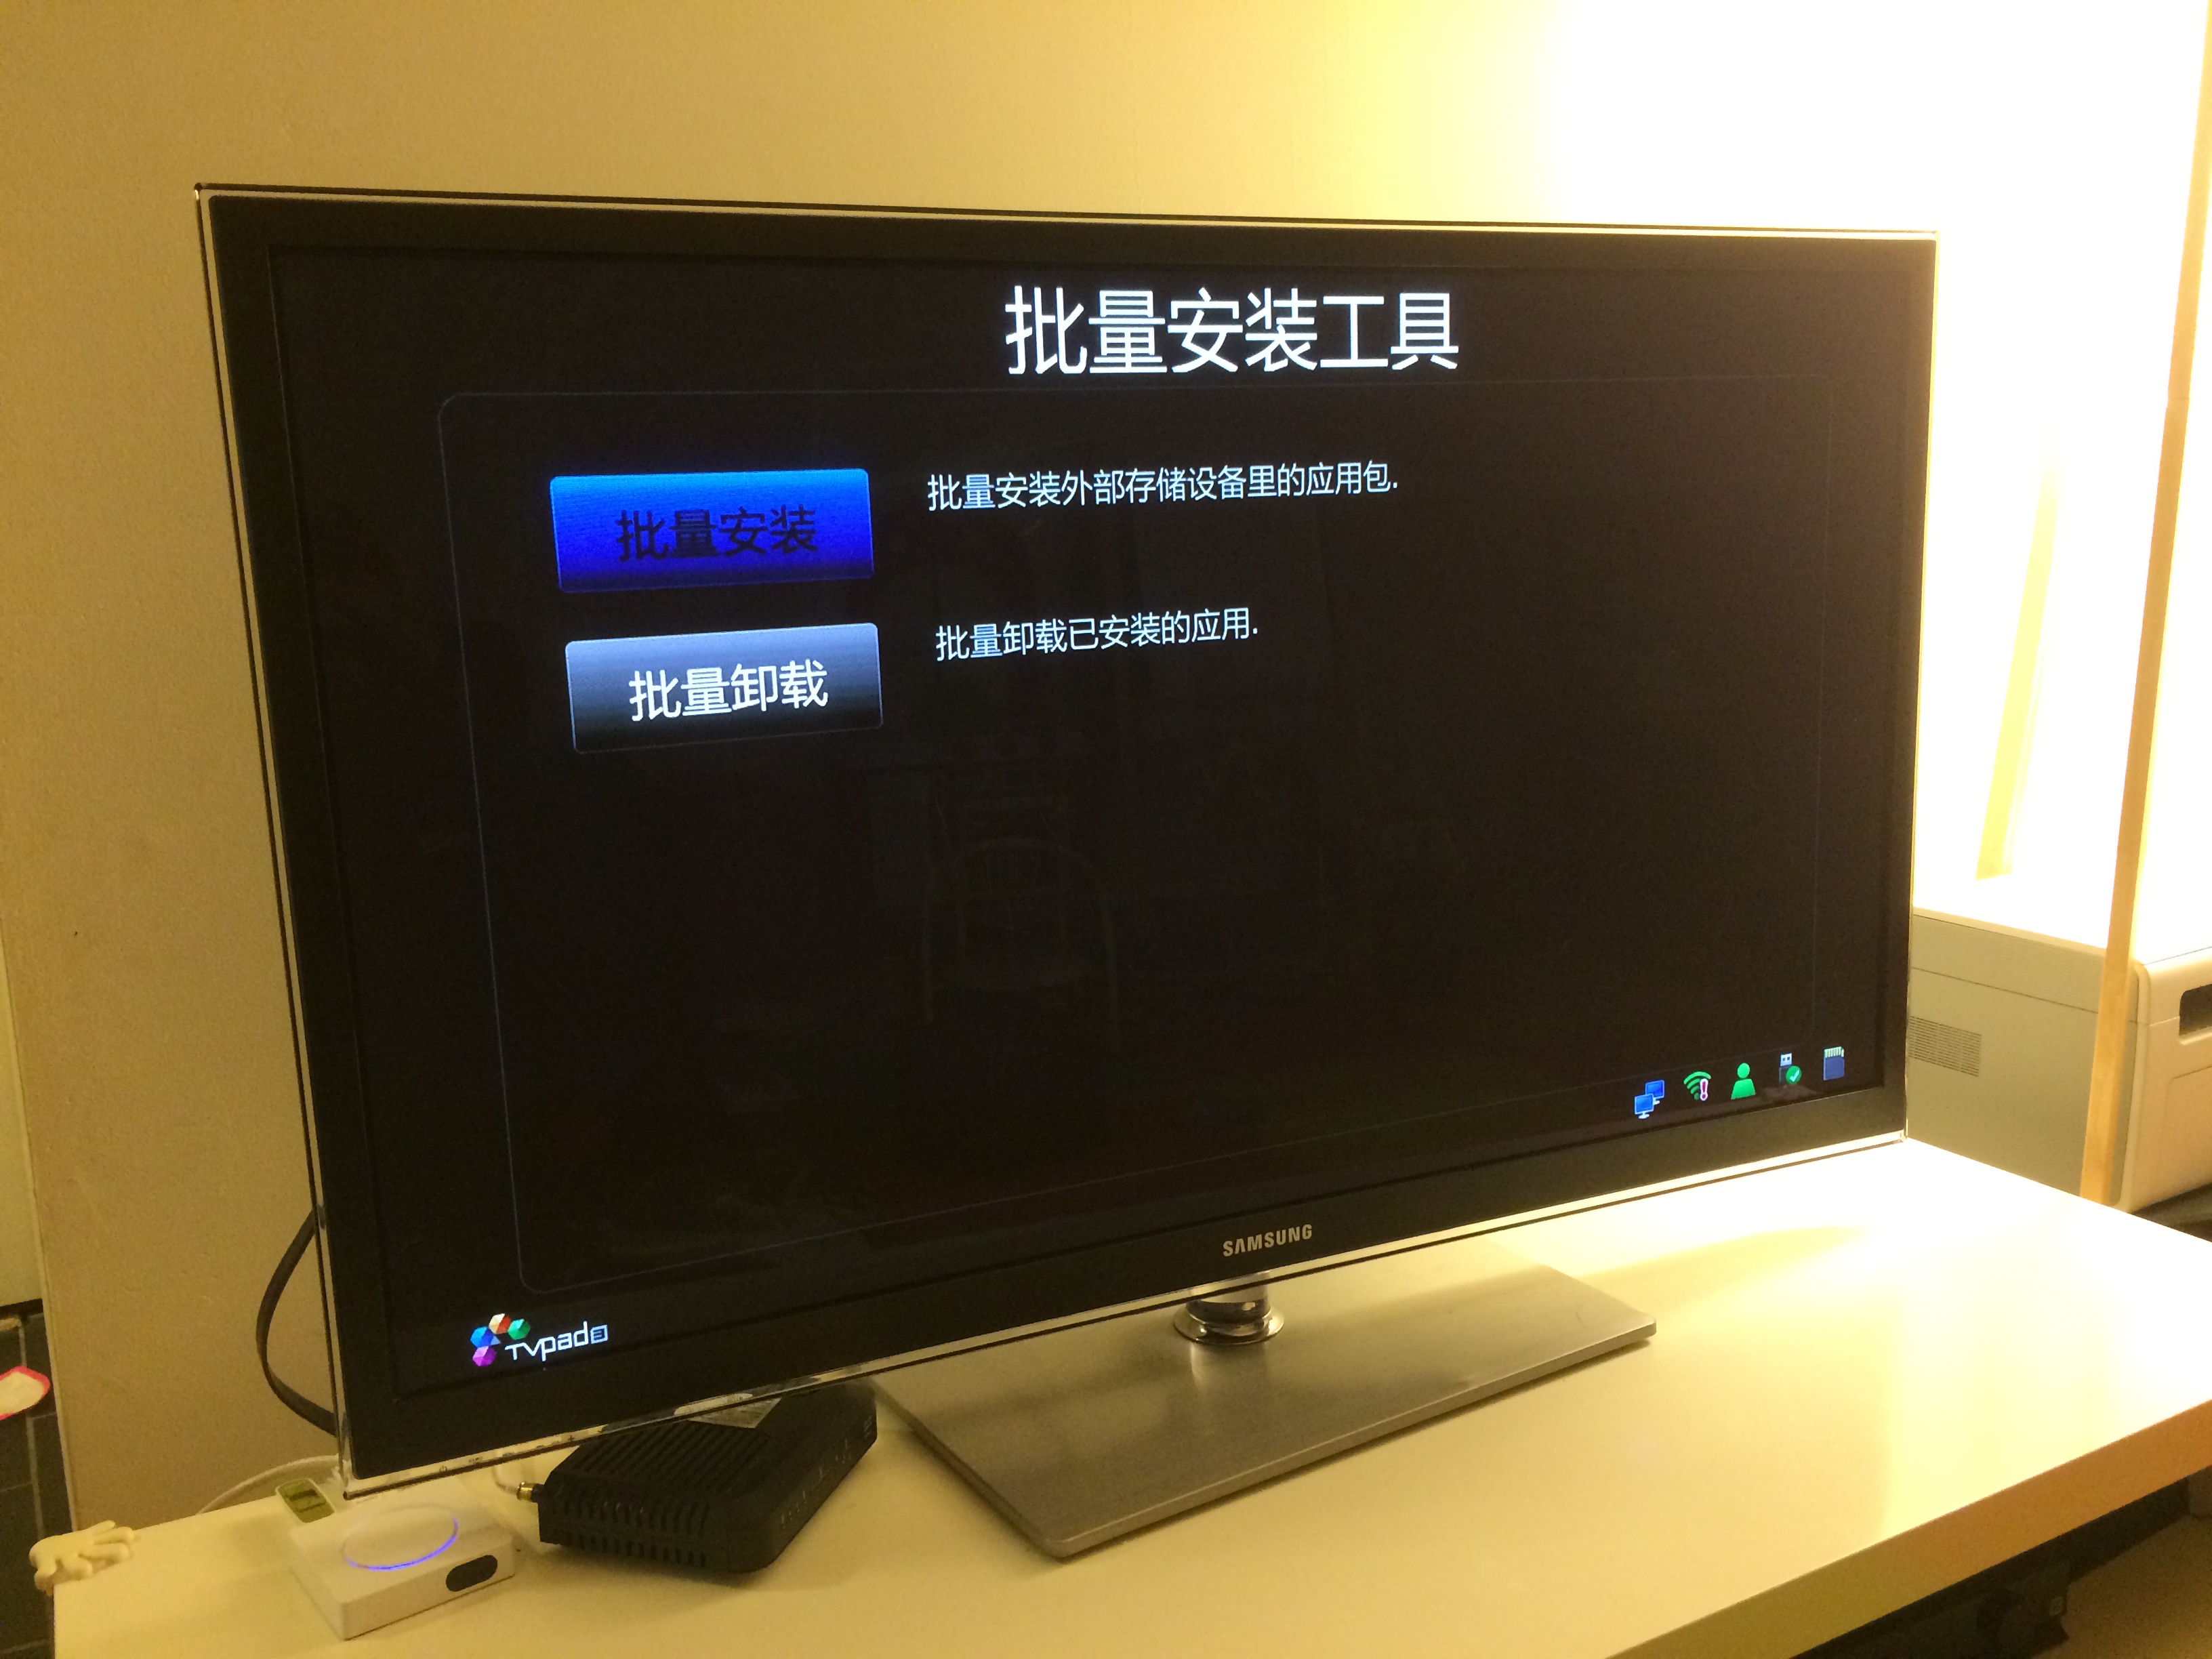
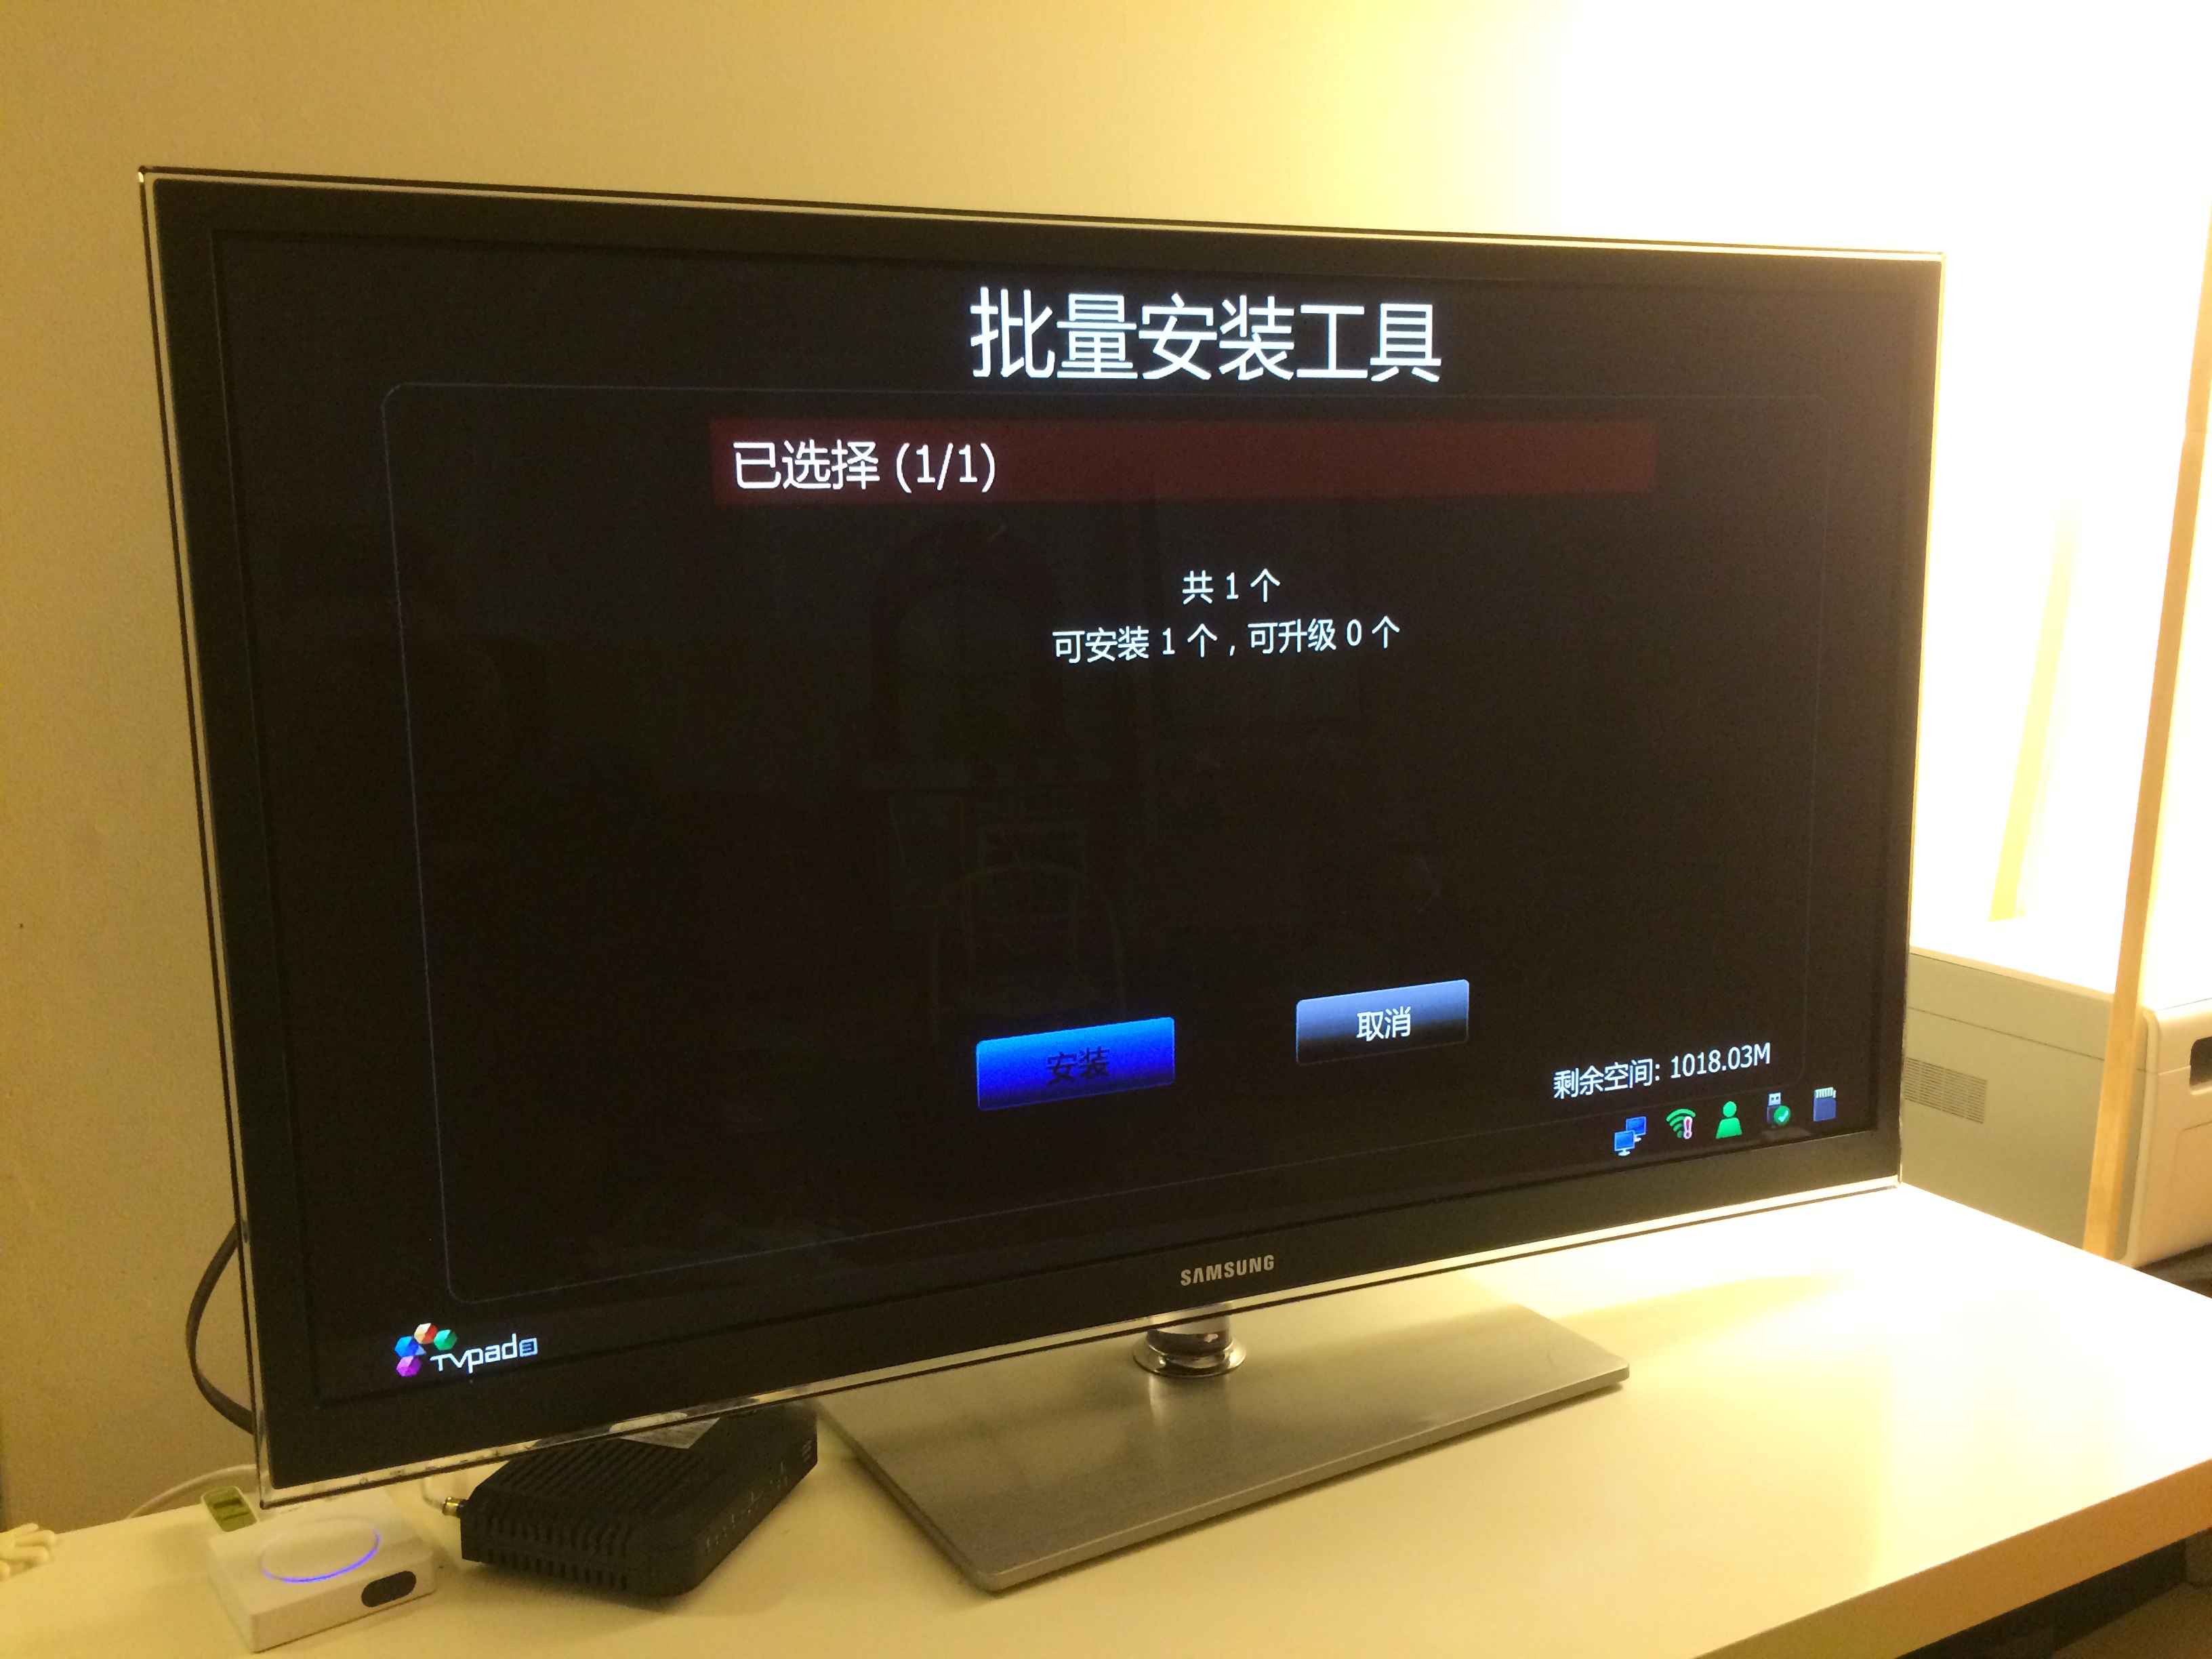
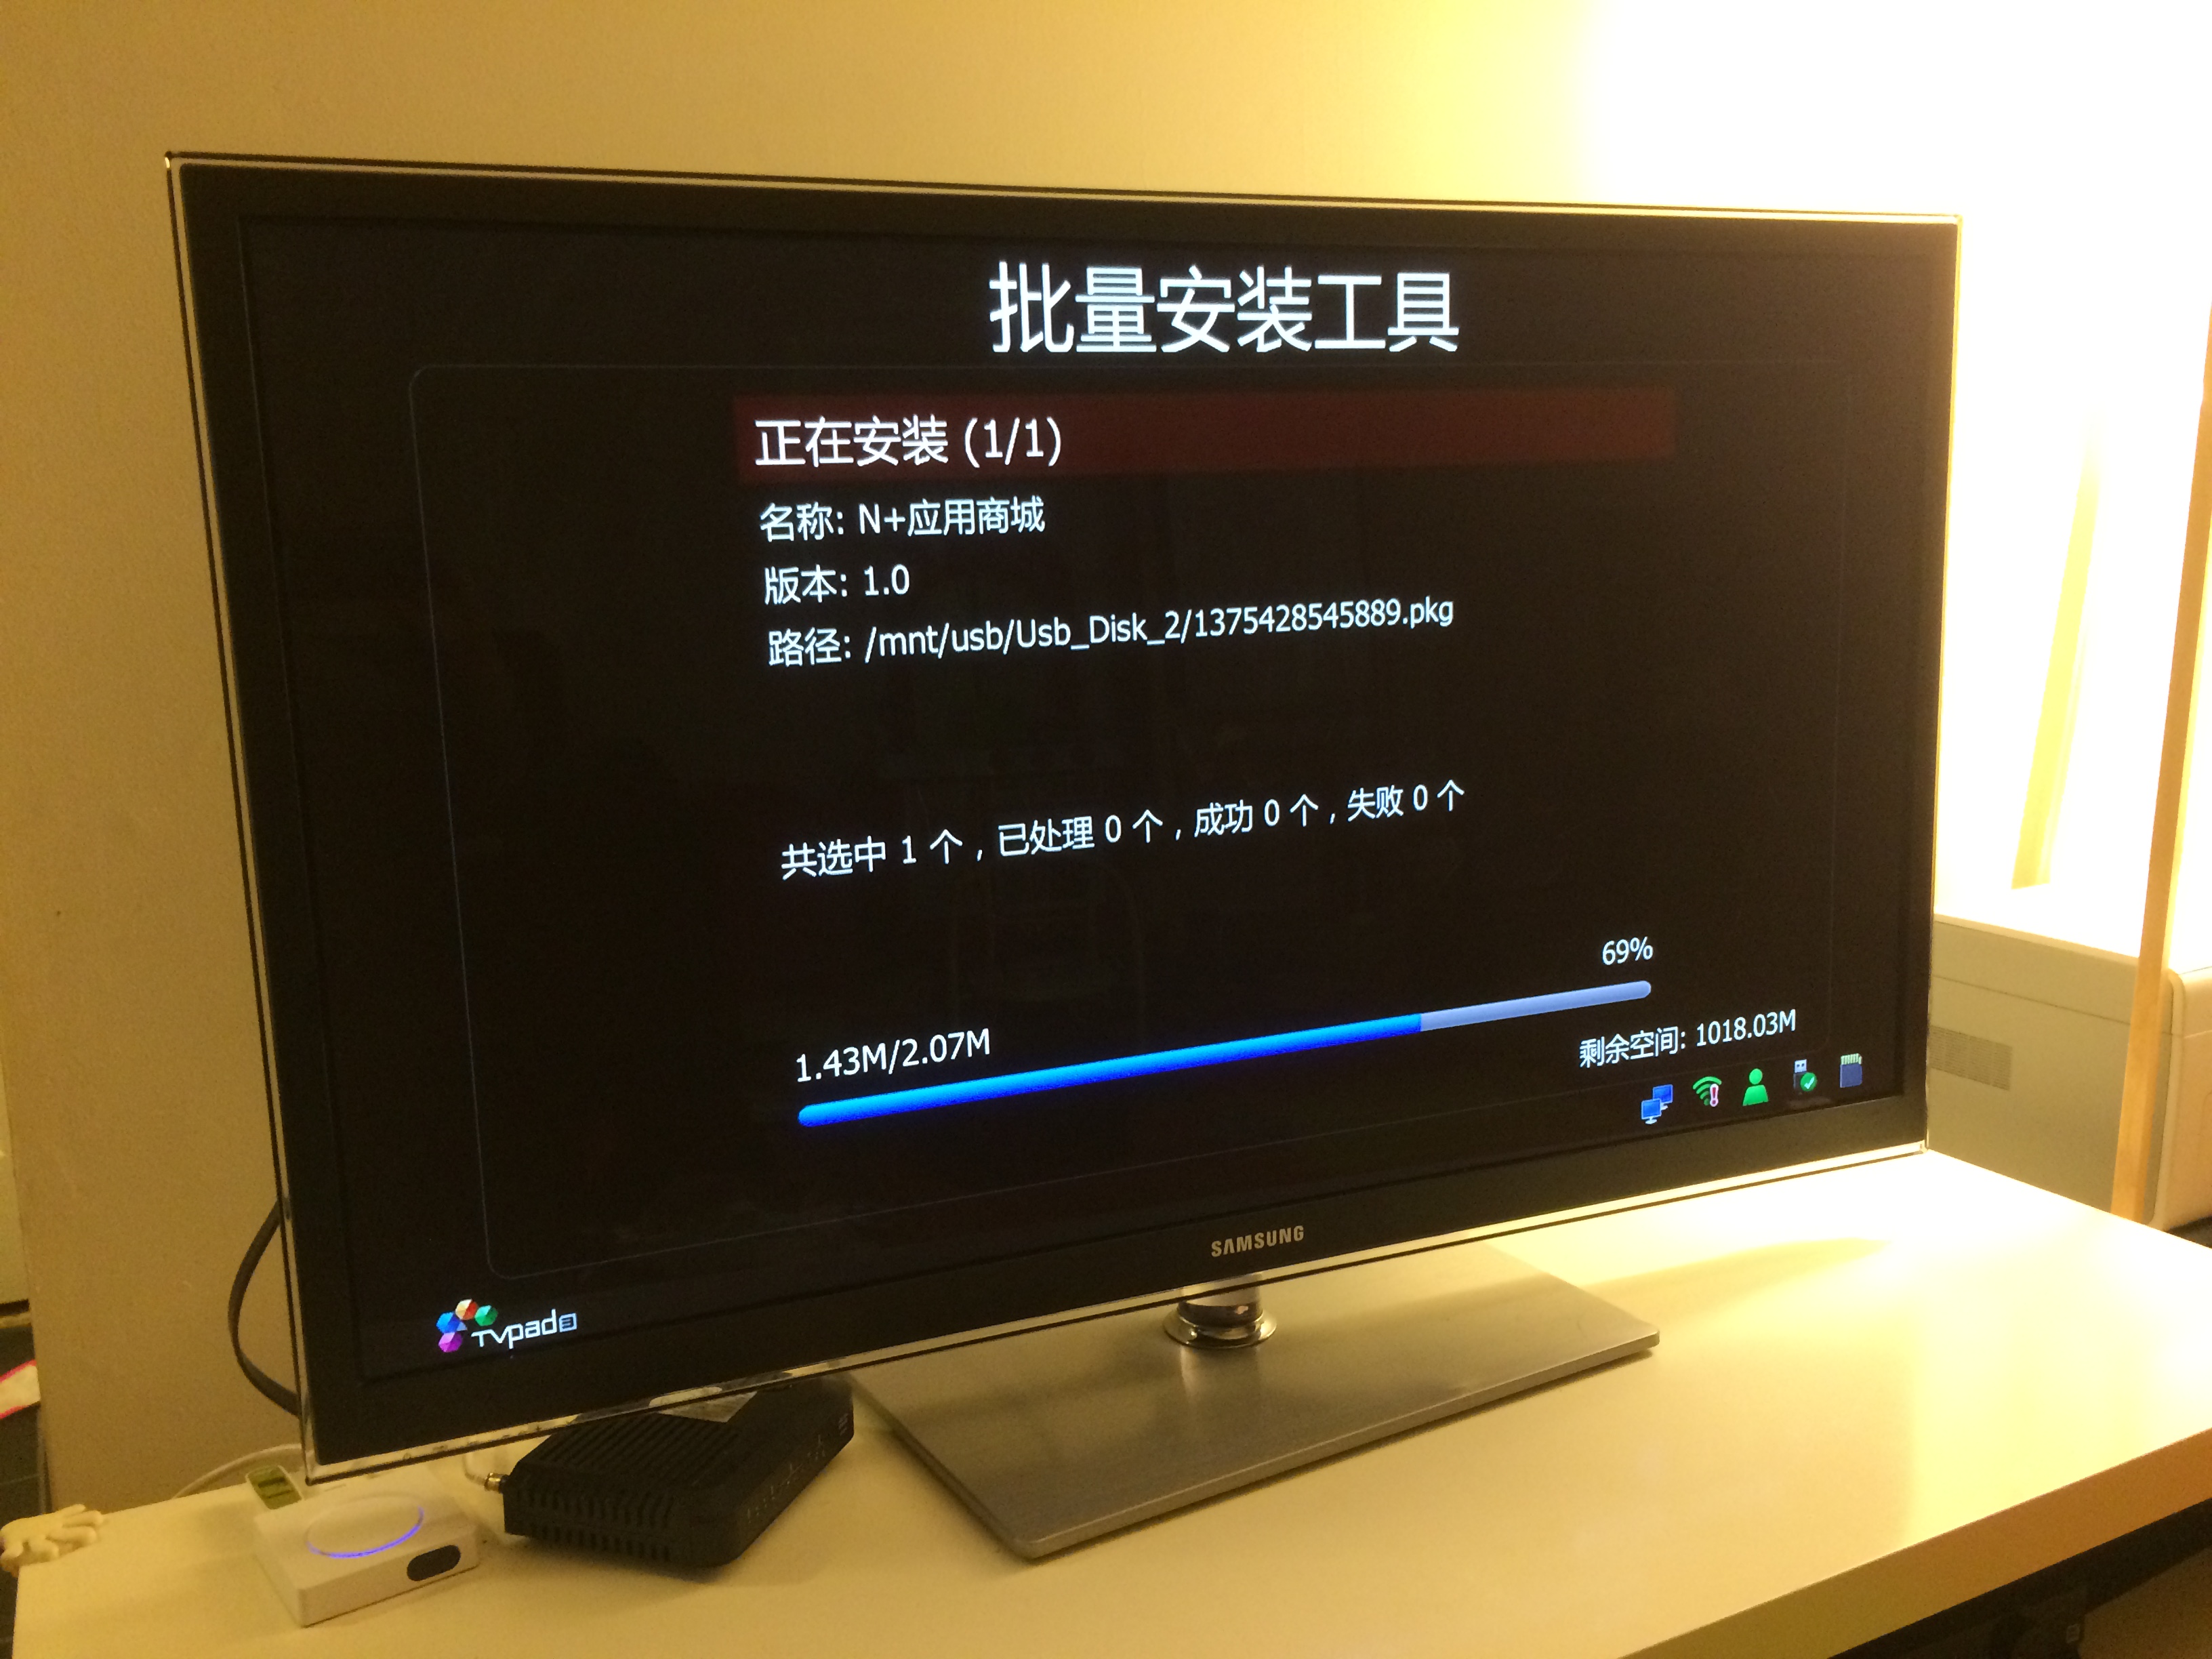
Your initial setup is complete! Now you will need to setup your network connections and start installing apps!
Step 3:
Configure your TVpad network settings
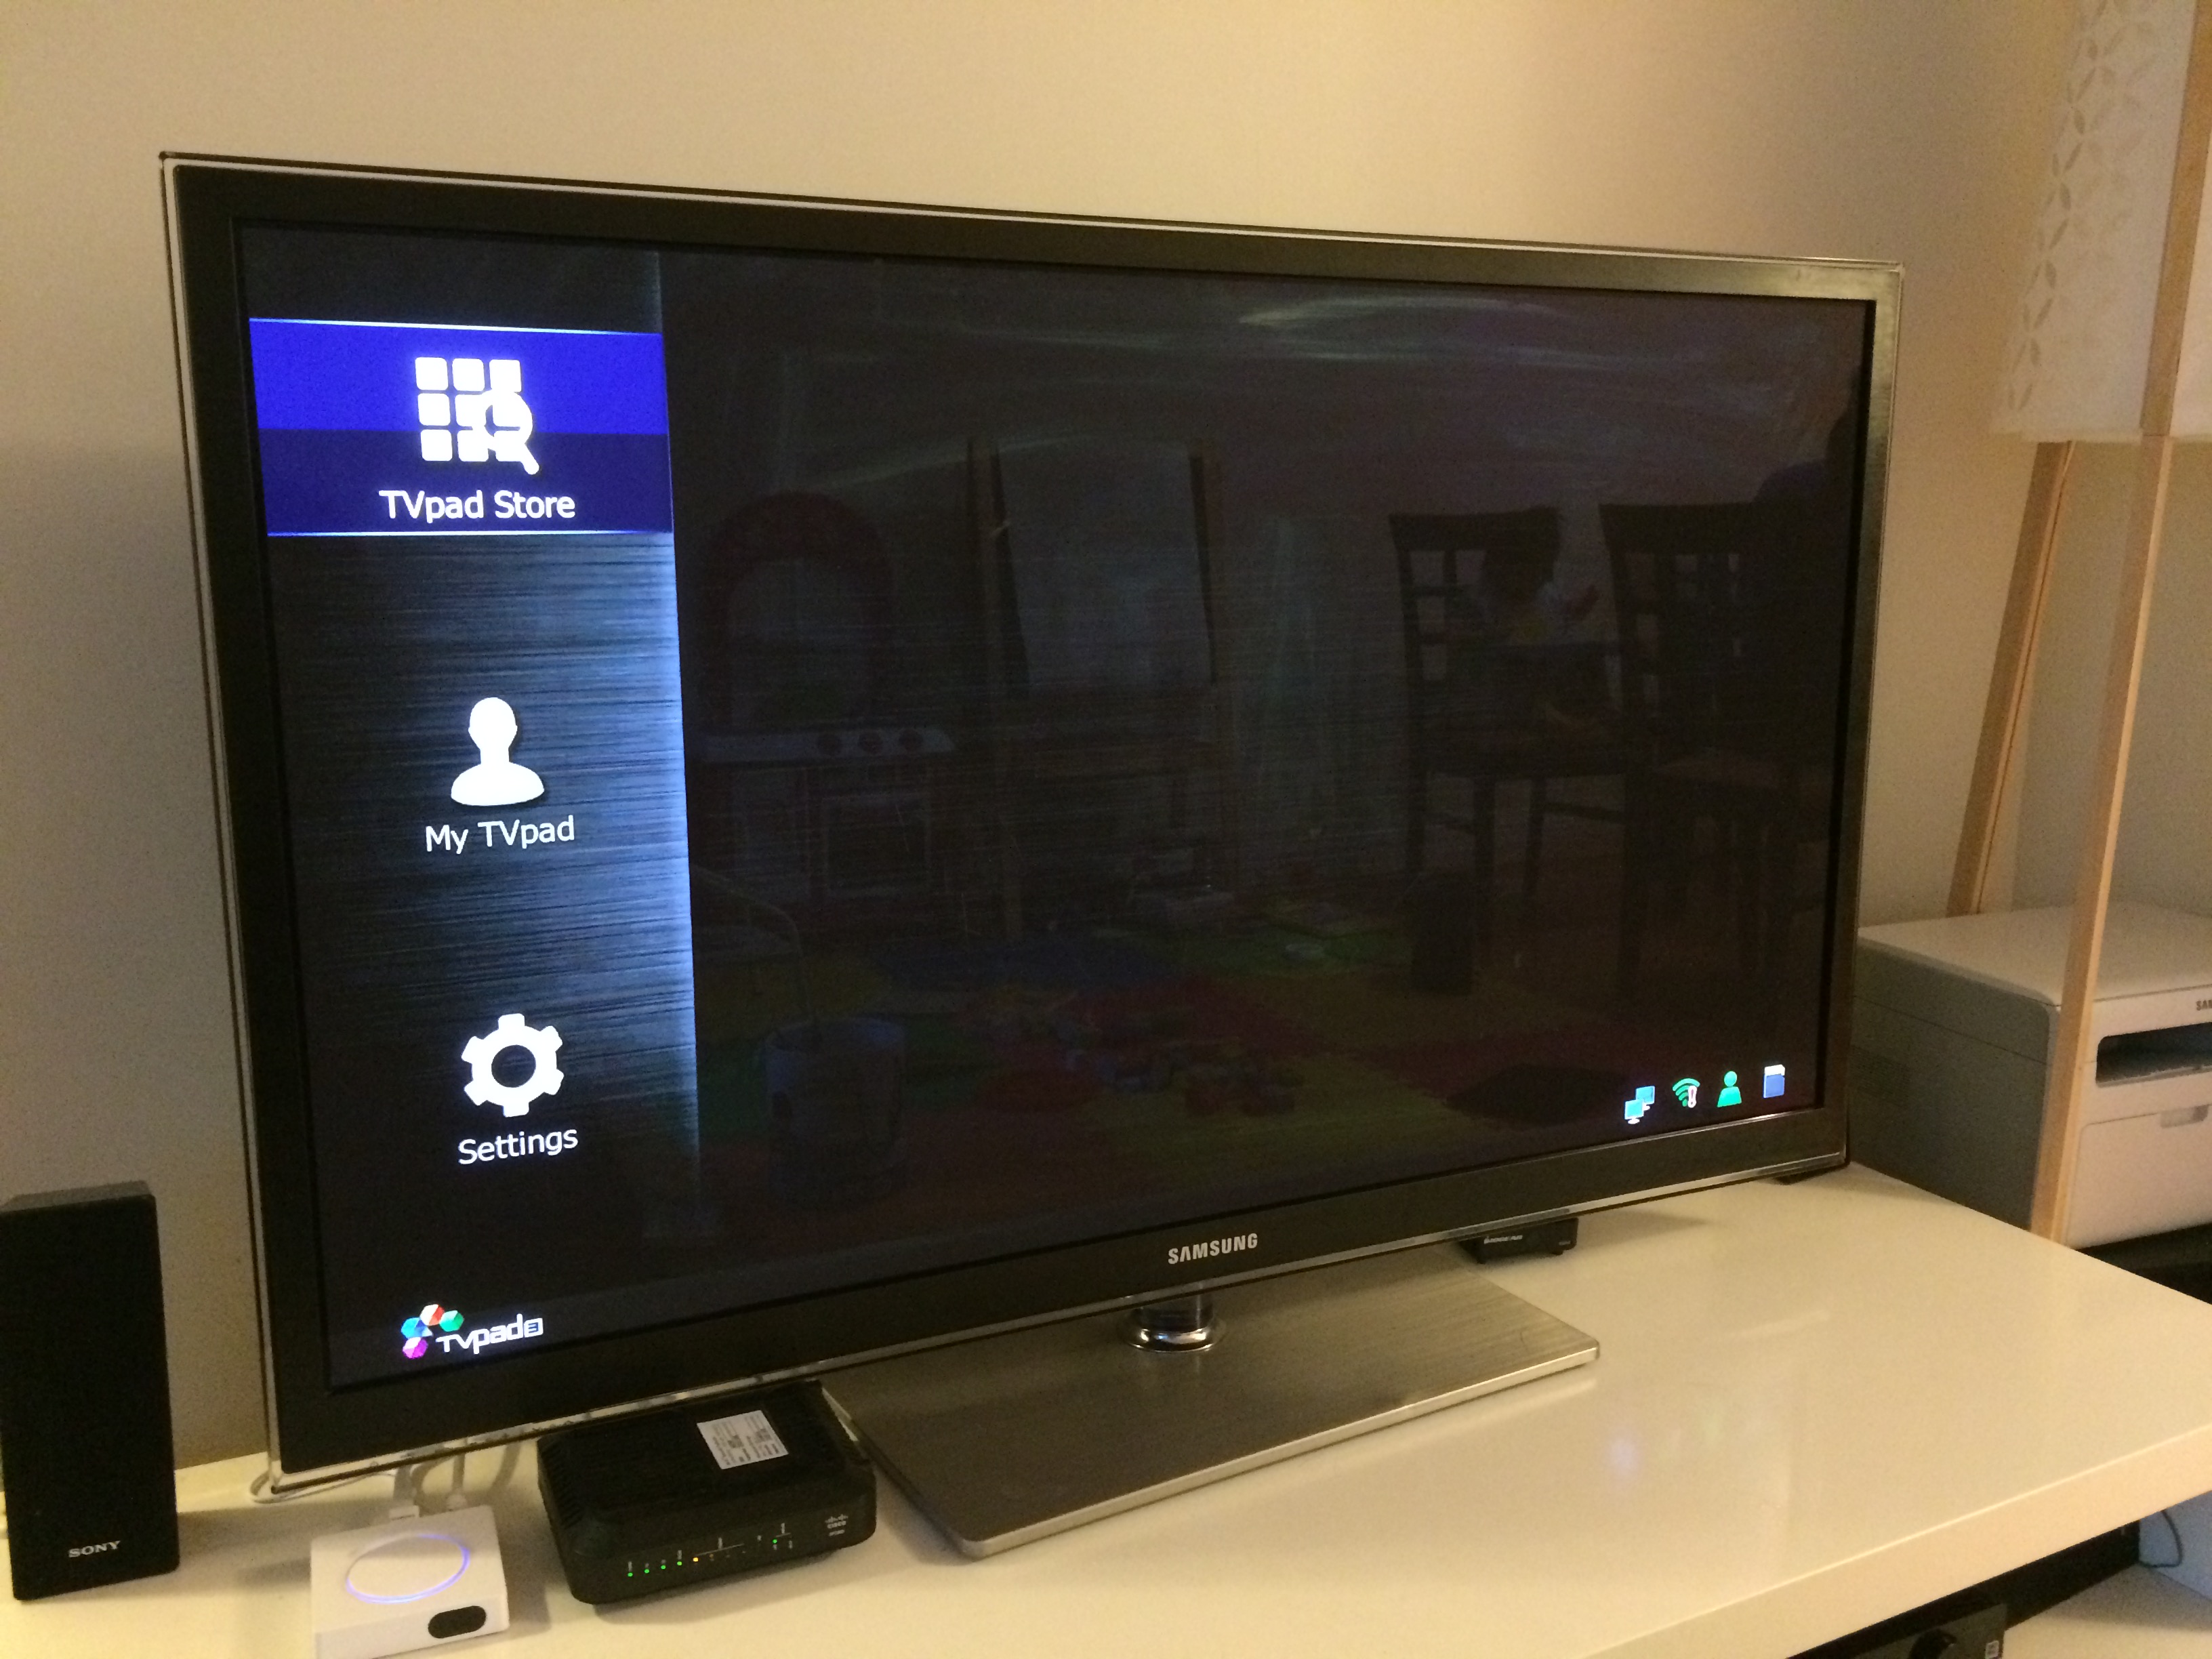
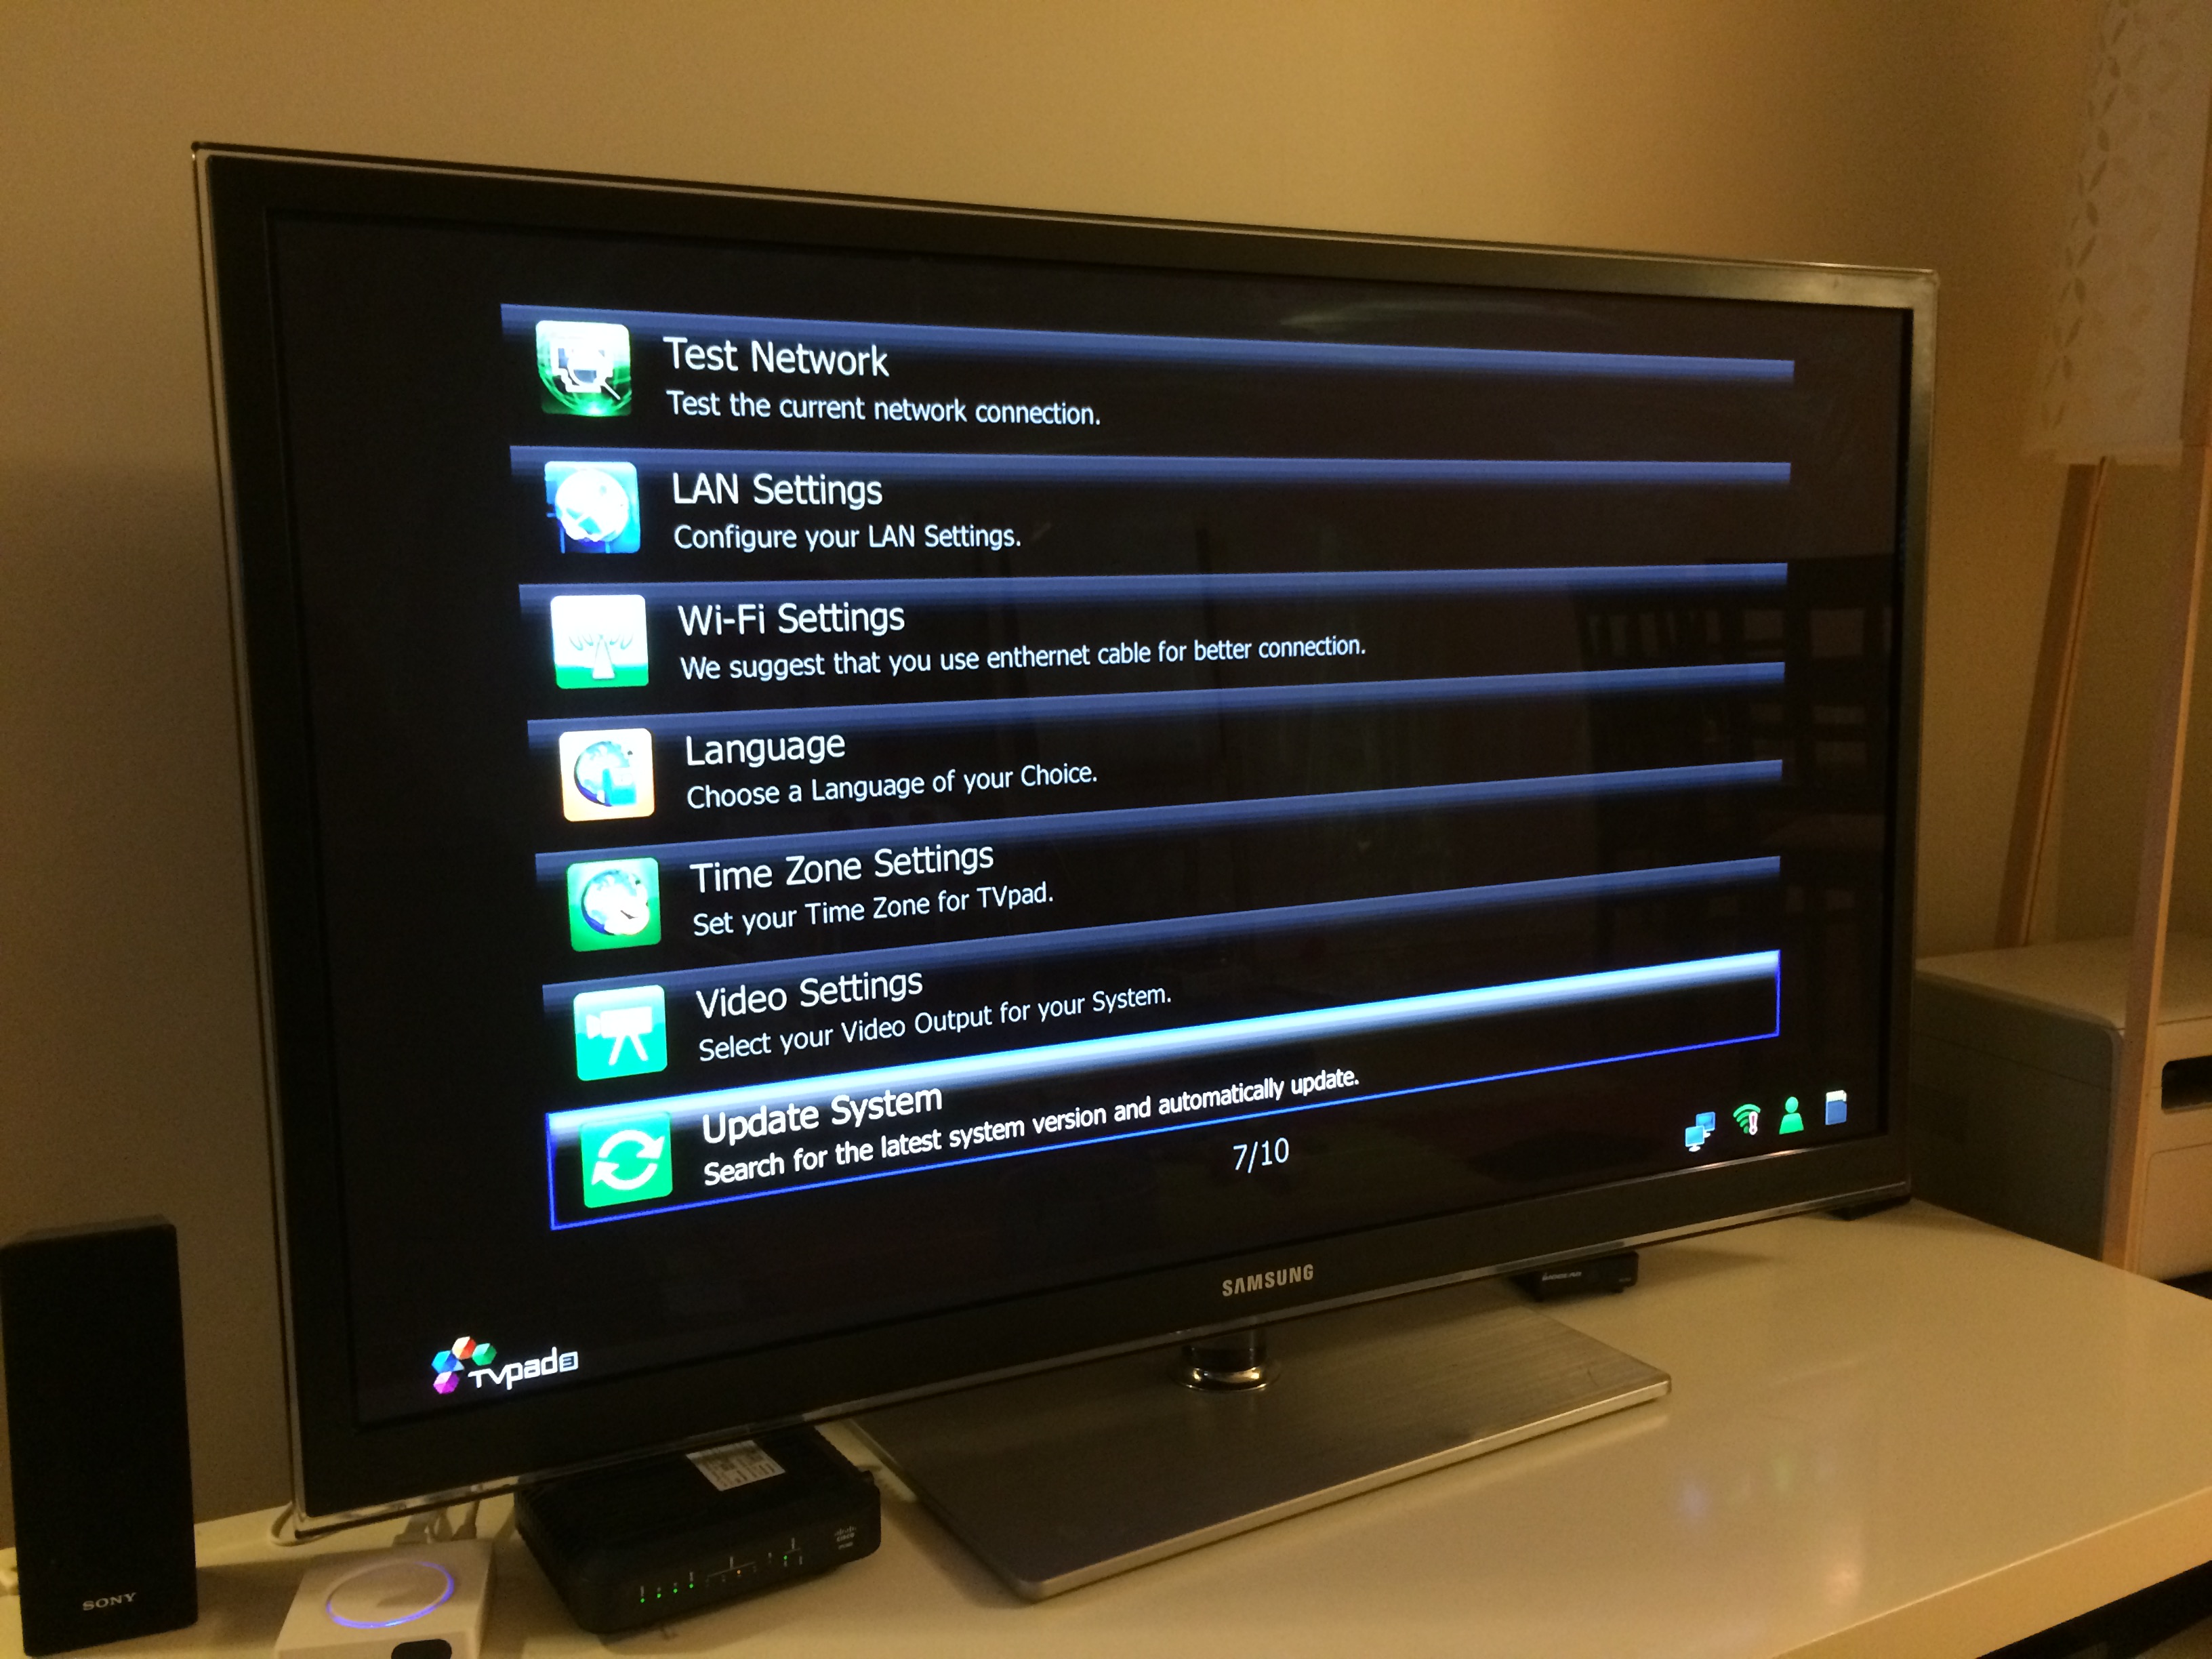
In your main menu, select “Settings”
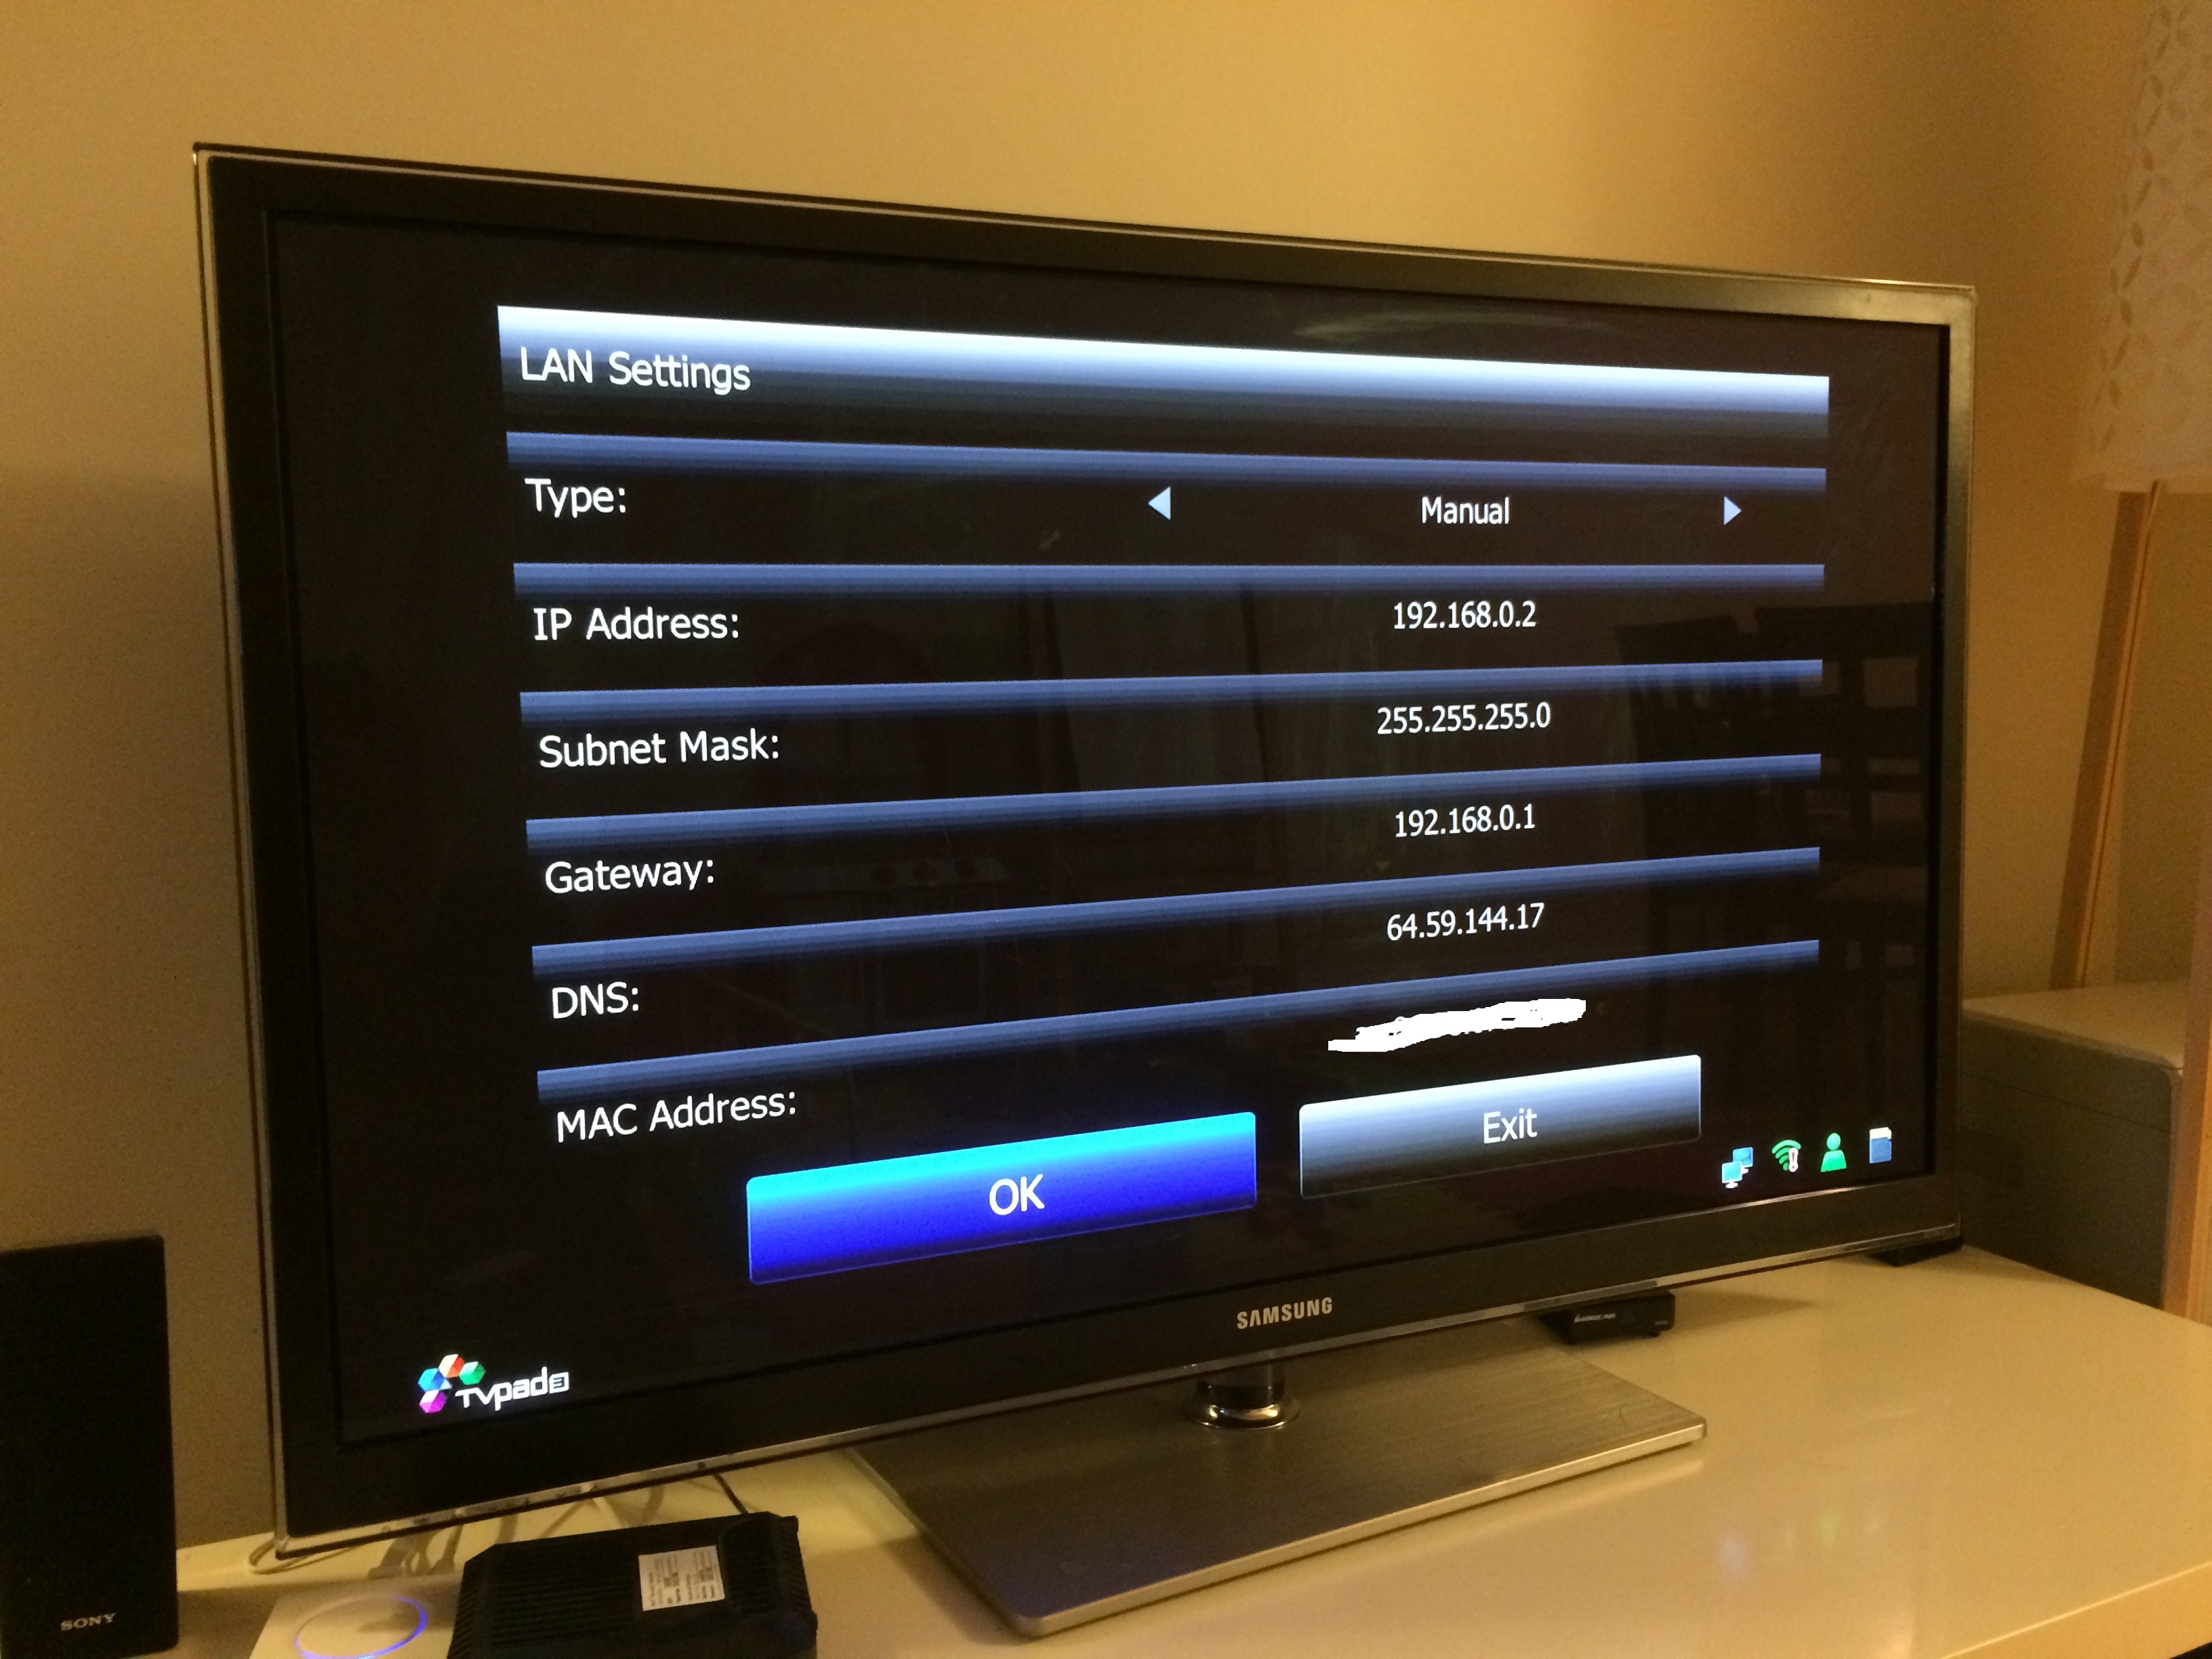
Your settings screen will appear. Select “LAN Settings”
Your “LAN Setting” screen will appear.
From the information gathered in Step 1 (above), enter the following:
1) Your Subnet Mask:
2) Your Default Gateway:
Important:
For your TVpad IP Address, enter the same address as your Default Gateway EXCEPT for the last digit. The last digit is recommended to be 127
For example, if your default gateway is: 192.168.0.1, your TVpad IP address should be set at: 192.168.0.127
Note: I chose the last digit to be 127 because your other network devices such as your phone/ipad or other wifi connected devices will automatically pick IP addresses in ascending order starting from 0. It is not likely you have 127 network devices in your home… You don’t want your TVpad IP address to overlap with any other network devices.
Next, set your DNS server to: 49.213.10.163 (This is the TVPad server address for the TVPad broadcast network!)
Once you’ve inserted all the parameters, select “OK” and a message “Cable Network Configuration Succeeded!” will appear on screen to confirm your TVpad is properly configured.
CONGRATULATIONS! You are now properly setup your TVpad4 to start watching Live streaming TV!
Tags:
Live streaming Japanese TV
Live streaming Korean TV
Live streaming Chinese TV
Live streaming Taiwanese TV
Live streaming Vietnamese TV